
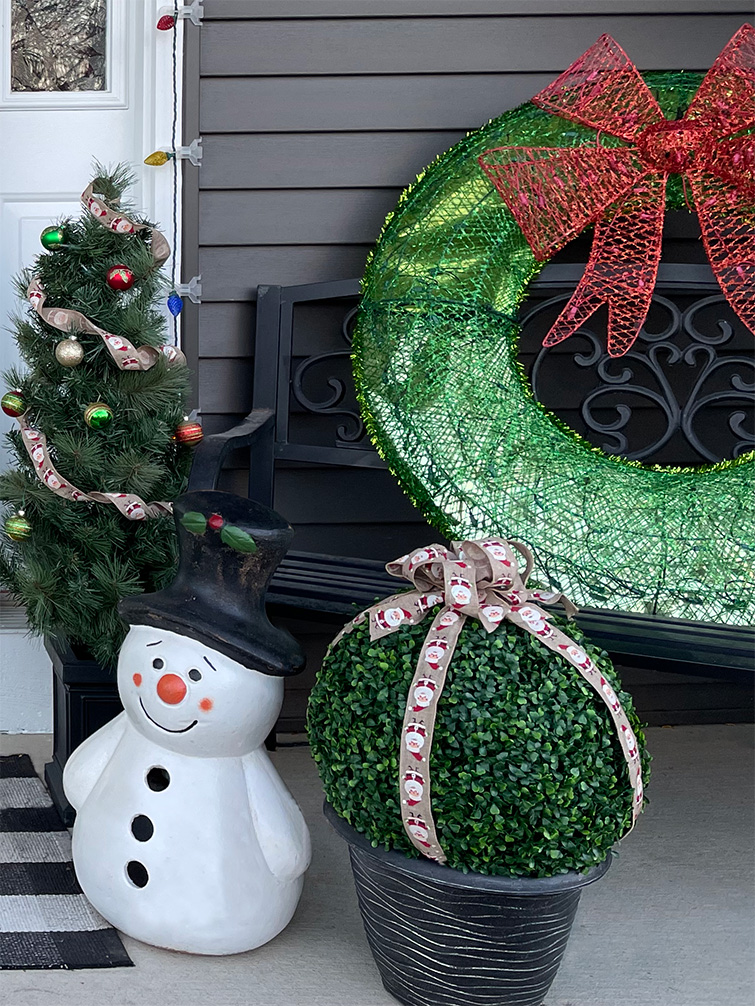
We finally got to decorating our front yard for the holiday this past weekend. The last couple of months seem like they went by in a whirlwind, and when we went out to look for new Christmas decor for our yard, we found everything had already been picked over! So, I decided to DIY a quick holiday porch topiary with some supplies I had on hand.
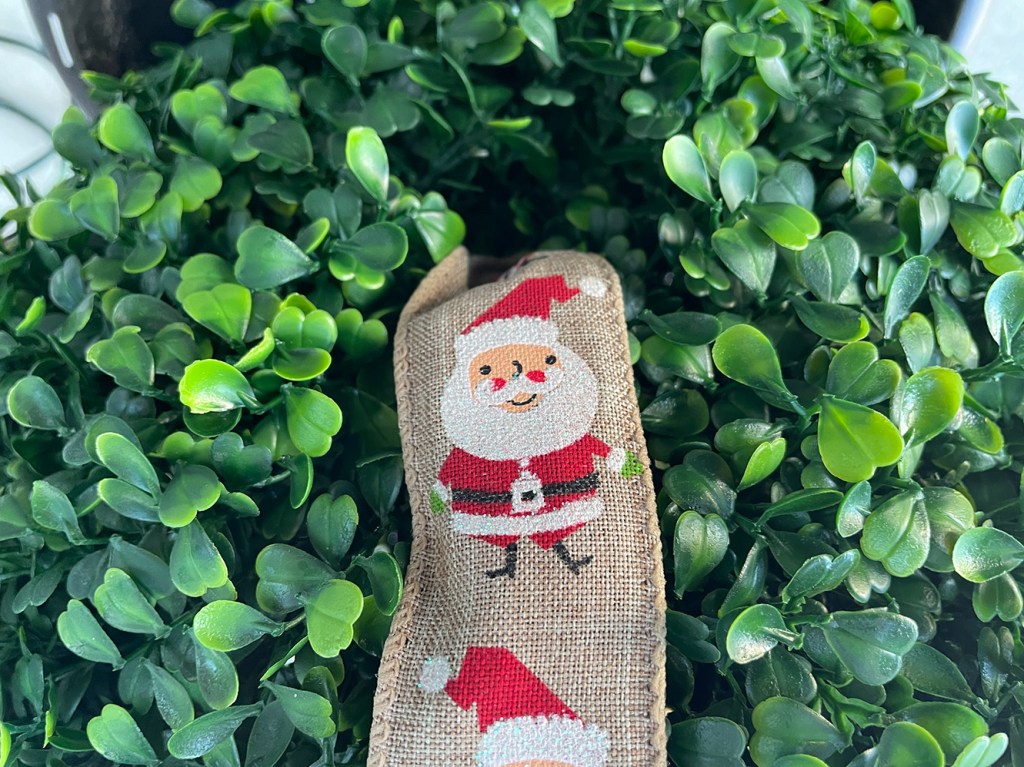
I bought these faux boxwood balls for the recent Legend of Zelda Themed Birthday Quest we had for my daughter a few months back, and I thought they would make a quick and easy transition to a holiday themed decoration with just a little bit of wire-edged ribbon. You could easily dress them up further with some twinkle lights, which I still might do!
A Simple Supply List
To make these, you only need a few things:
- Faux Boxwood Topiary (I used the 15.7 inch size, which came in a box of two)
- Wire-edged Fabric Ribbon
- String
- Planter pot (any type, just make sure the opening is a bit smaller than the circumference of the topiary you choose)
- Rocks, brick, sand bag, etc., to anchor your topiary to your planter pot
Assembling the Topiary
First, you’ll have to put the boxwood balls together into a ball shape. They come out of the packaging as halves, but are easily snapped together with the built-in fasteners and then secured with zip ties (also included in the package).
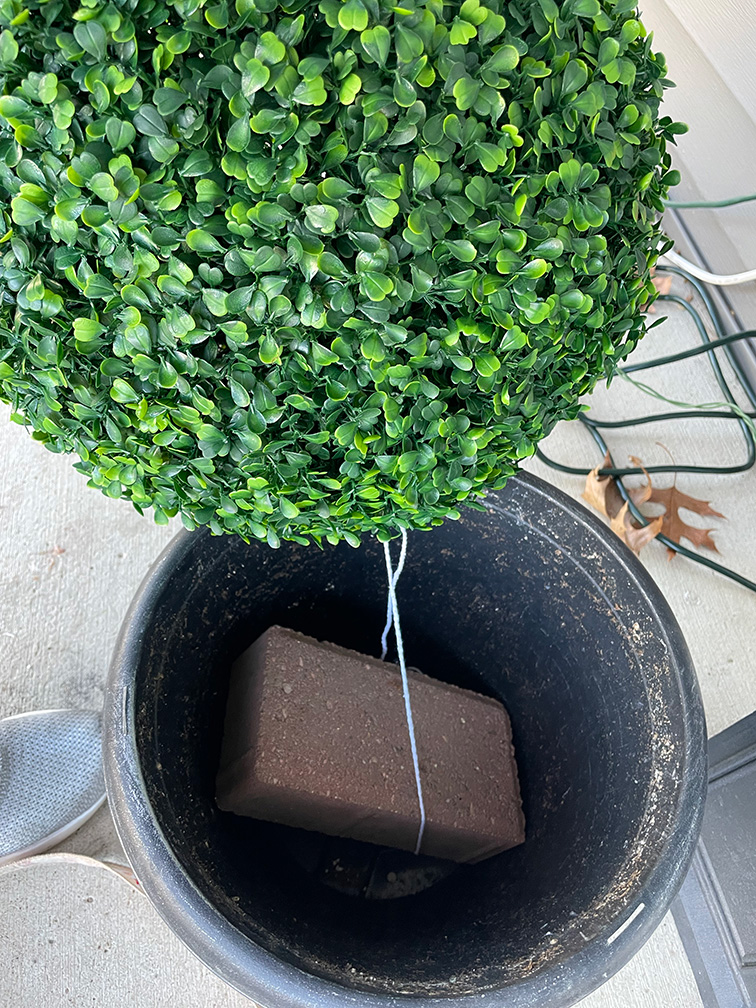
To make sure they won’t fly out of the planter pots in the windy winter weather, we secured a string to the faux boxwood ball and then tied the string around a brick which we placed inside the planter. The balls are a plastic mesh on the inside, so tying a string to anchor it to a brick was very easy. There are definitely other ways to anchor these down, this just worked well for us!
Putting the Ribbons Together
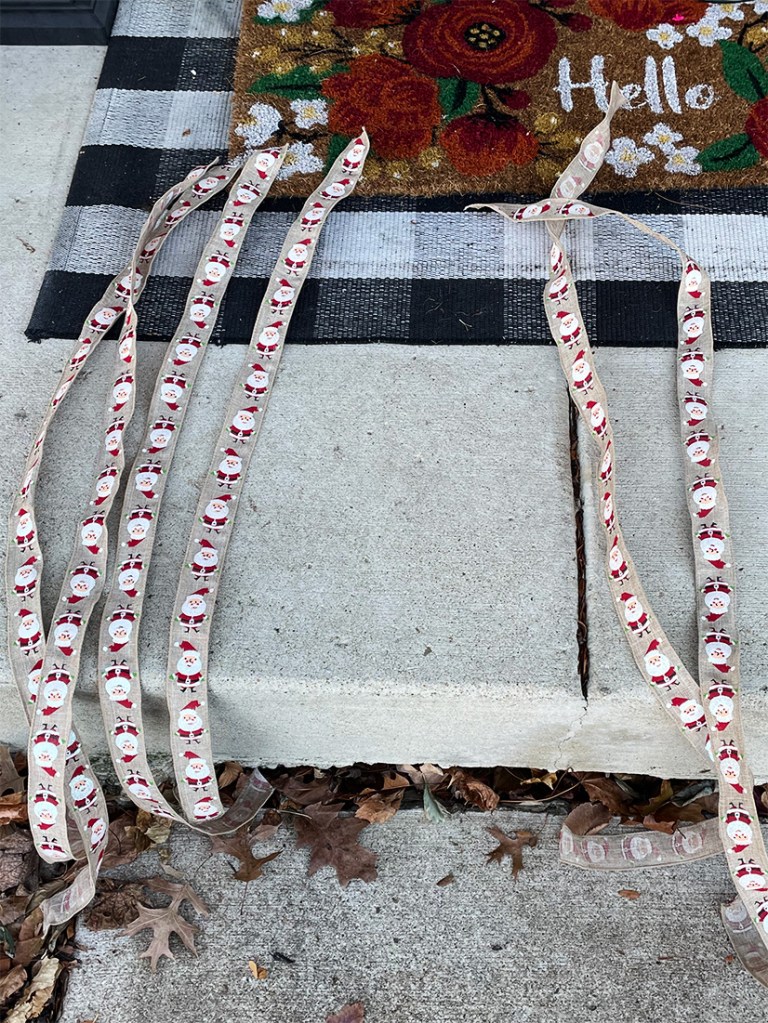
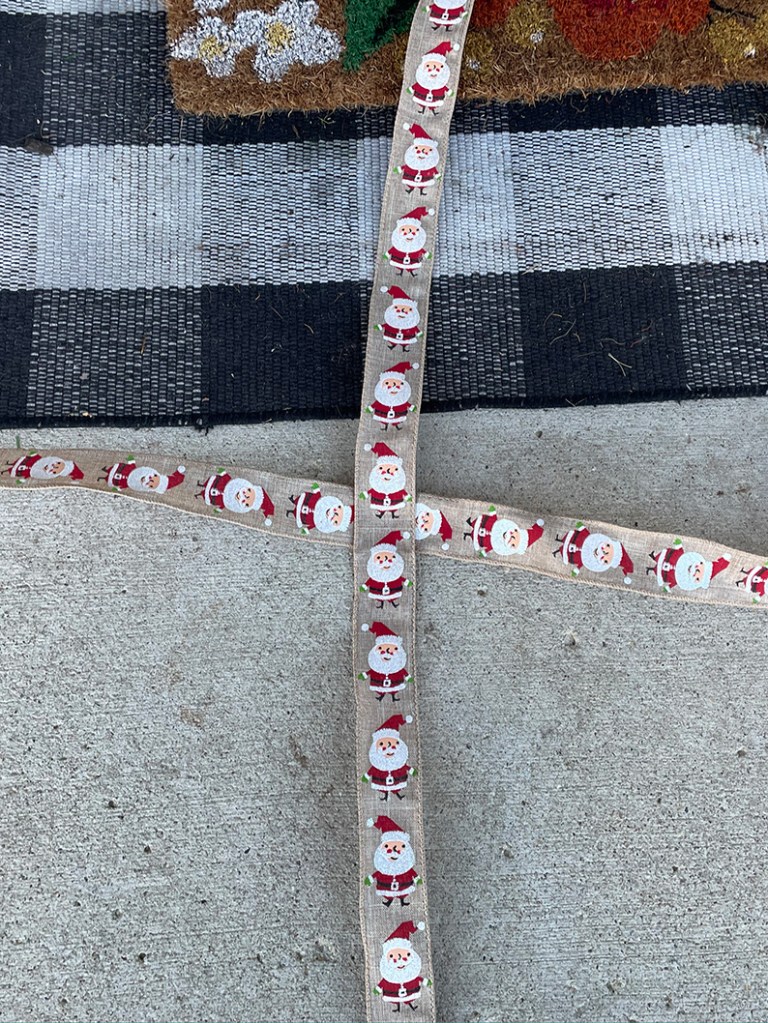
Once the topiary was secure in the planter (these planters were just left over from my fall mums!), I could begin fitting them with ribbon. I cut two, separate lengths of ribbon that fit around the circumference of the topiary ball. These would attach to the sides of the boxwood ball giving it a gift-box look. I used a third length of ribbon that I tied around the centers of the other two ribbons, and would later use to fashion into the bow. Since I was making two topiaries, I had to double the ribbons.
To secure the first two pieces of ribbon around the topiary and make it look like a gift, I wrapped the pieces snugly around the sides of the ball, and then tucked the ribbon into the ball, pushing it through that internal plastic mesh. Be sure to push the ribbon into the mesh well below where the ball sits on the planter so the ends do not show.

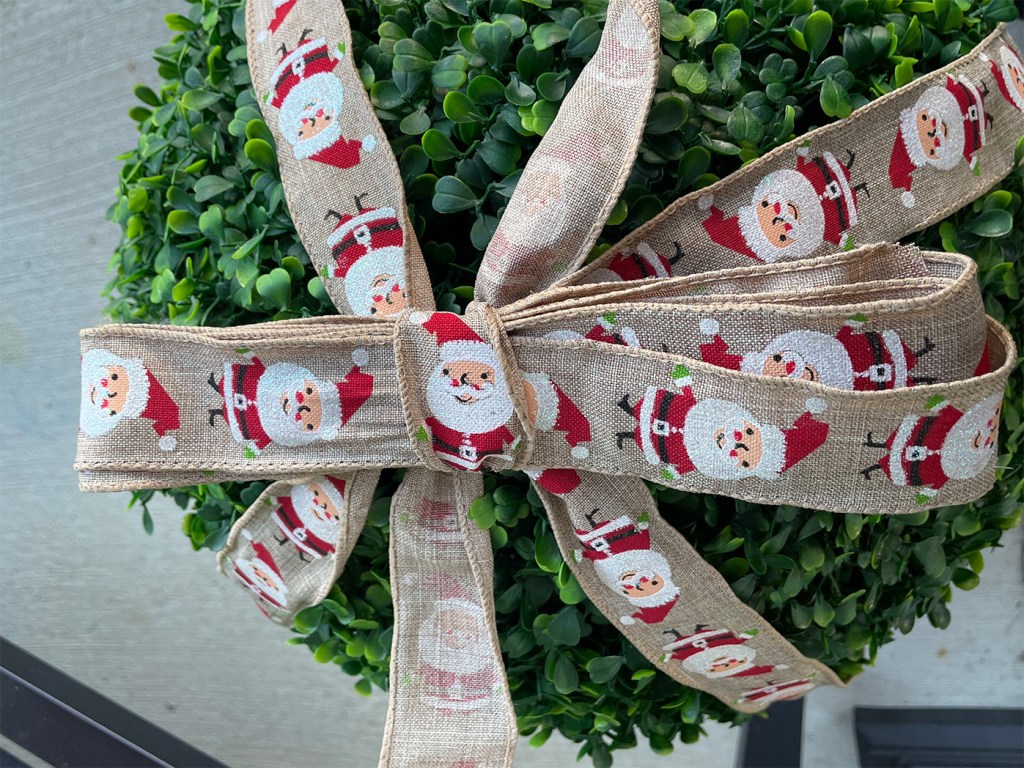
Once the ribbon was firmly in place around the topiary, I used the third strip of ribbon to make a bow by folding it on to itself in loops approximately 7-8″ wide. I had additional ribbon on hand, so I added a few extra loops to this part so that my bow would be more full. Do not worry about loose ends, you can tuck them under at the end.
Once your loops are piled neatly on top of themselves, use another length of ribbon (only about 6″ long) to tie around the loops; exactly in the middle. Flip your tie around so that the cut ends are on the bottom and the middle of your bow has a nice flat look. Once this is finished, pull your loops out from each other and shape them into whatever kind of bow-look you like! Voilà! Your faux boxwood holiday topiary is complete!
We would love to see the DIY projects you’re working on this holiday season! Share your photos with us in the comments below or on Social Media! Follow us to stay up-to-date on our most recent projects!
Hi! I’m Jen. When my husband and I welcomed our first daughter in 2013, I left behind full-time employment in marketing graphic design and event planning to become a stay-at-home-mom. These days, I love planning uniquely-themed parties for my girls and adding colorful, unexpected spaces to my home. I also spend a lot of time crafting and gardening and adding flowers to just about everything! I hope you’ll enjoy following along on some of our projects, and sharing some of yours with us on social media!
