
Planning themed birthday parties for my daughters is one of my favorite things to do, and the Legend of Zelda party we recently hosted would not have been complete without a bit of adventure! This birthday quest was part of my daughter’s 6th birthday party that I posted about here. If you’re familiar with the Legend of Zelda video games, you’ll probably recognize many of the characters and themed items we used to make this Quest a success!
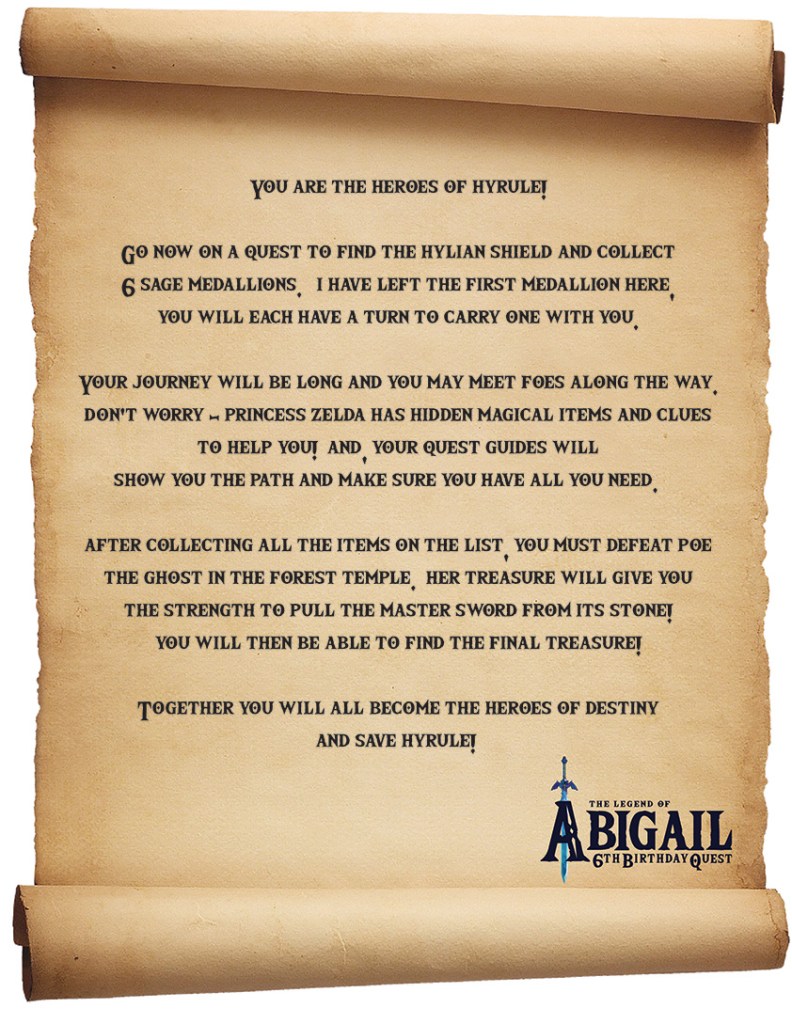
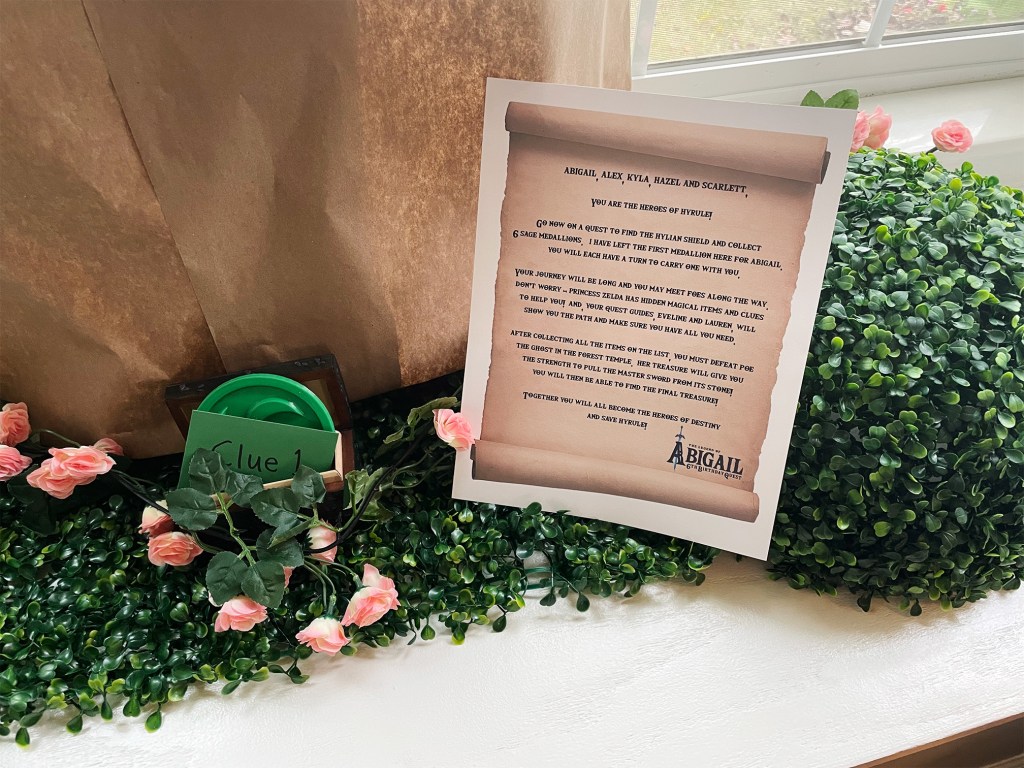
Taking inspiration from the way many video games begin, this birthday quest began with an epic call to action – personalized to our little guests. To begin, the Deku Tree left a letter to them explaining the goal of the quest and what kind of items the kids would find along the way. The letter called out each guest’s name individually and stated they must work together to become the Heroes of Hyrule. Only then would they be able to find the Master Sword and obtain the final treasure! Exciting!
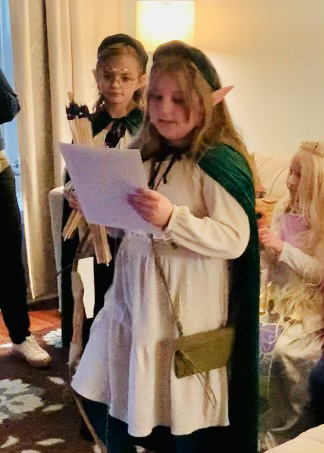
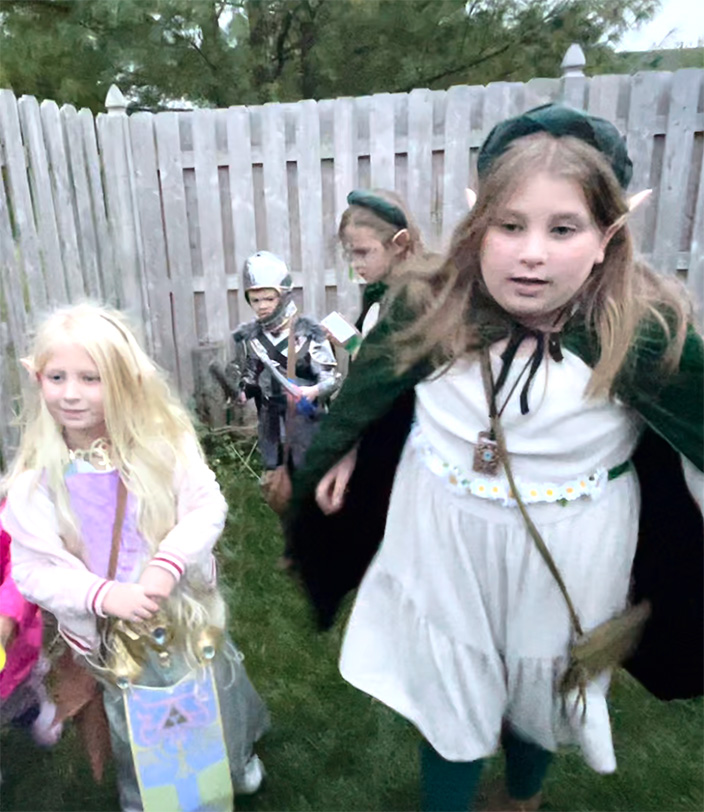
To help our young adventurers stay on the right path, my older daughter and her friend were dressed up as forest elf guides! Looking adorable in green capes, tights, and elf ears, the girls felt special and had lots of fun leading the way through this activity. My daughter also used this costume for Halloween, too, which worked out great!
Having the older girls reading the clues and guiding the way according to our prepared map really helped move this activity along. With so much going on at this party, they did a great job keeping the younger kids focused on the current task (for the most part, anyway!).
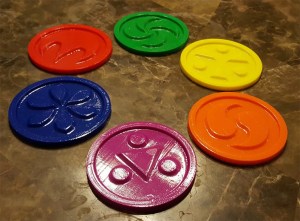
In addition to the Deku Tree letter, our quest-goers were also given the first clue and the first of six items they needed to collect- the Zelda Medallions. We found these medallions at the YeOldeProppeShoppe on Etsy, which were actually crafted to be drink coasters! It will be fun using these for movie and gaming nights long after this party is over.
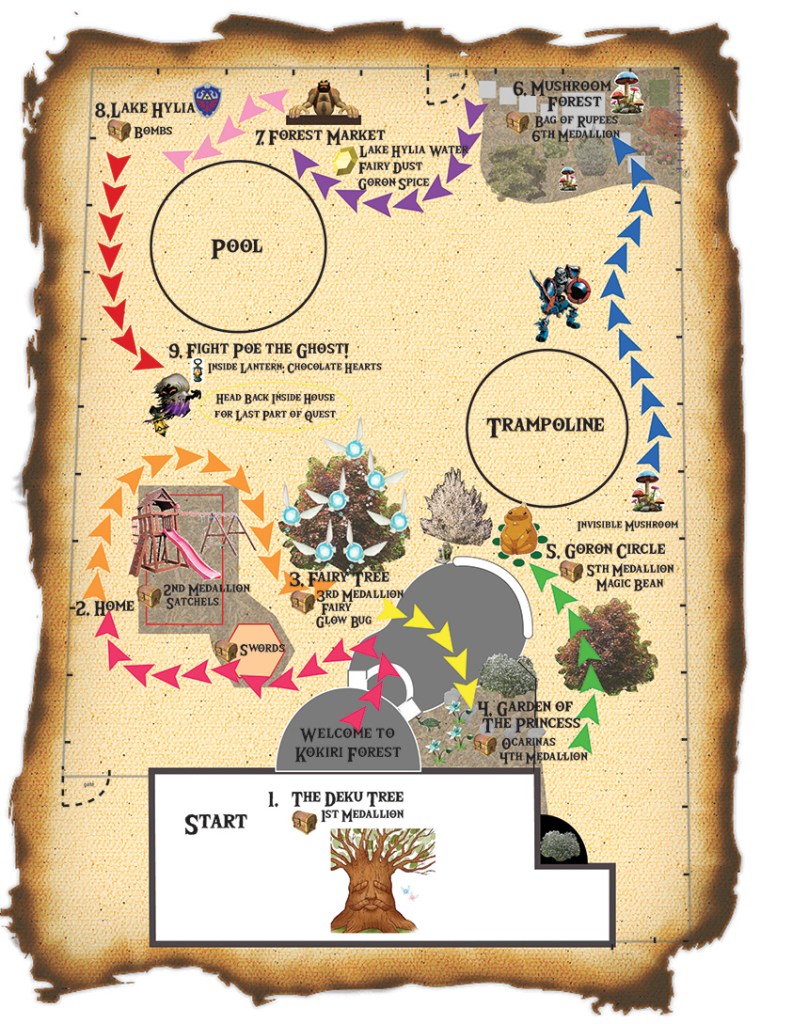

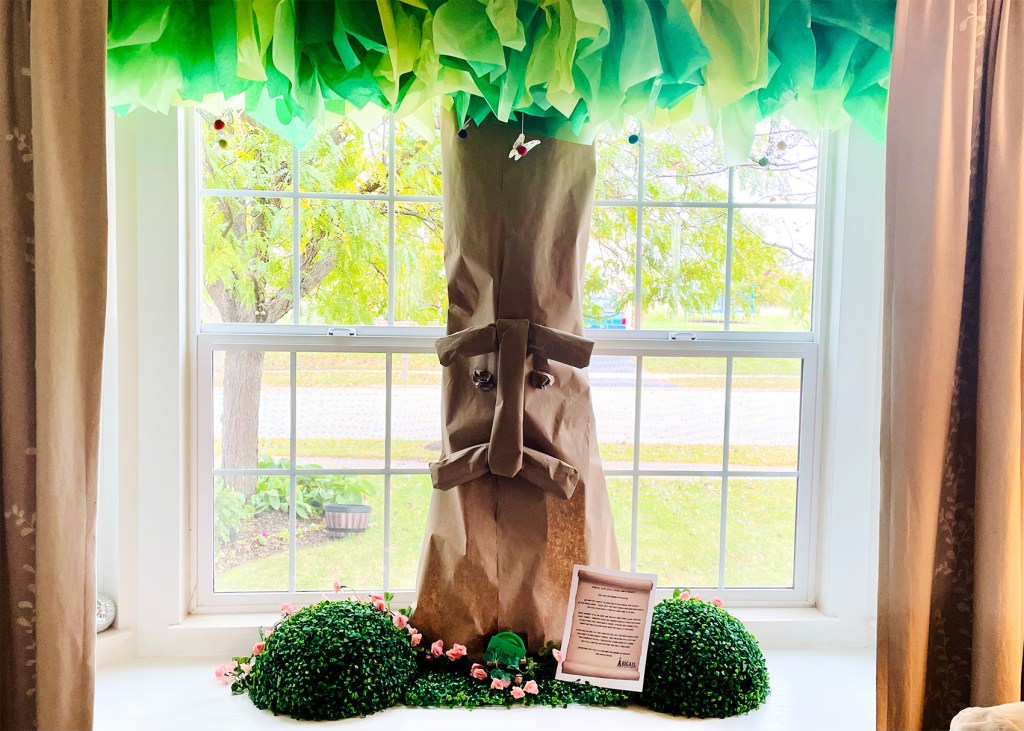
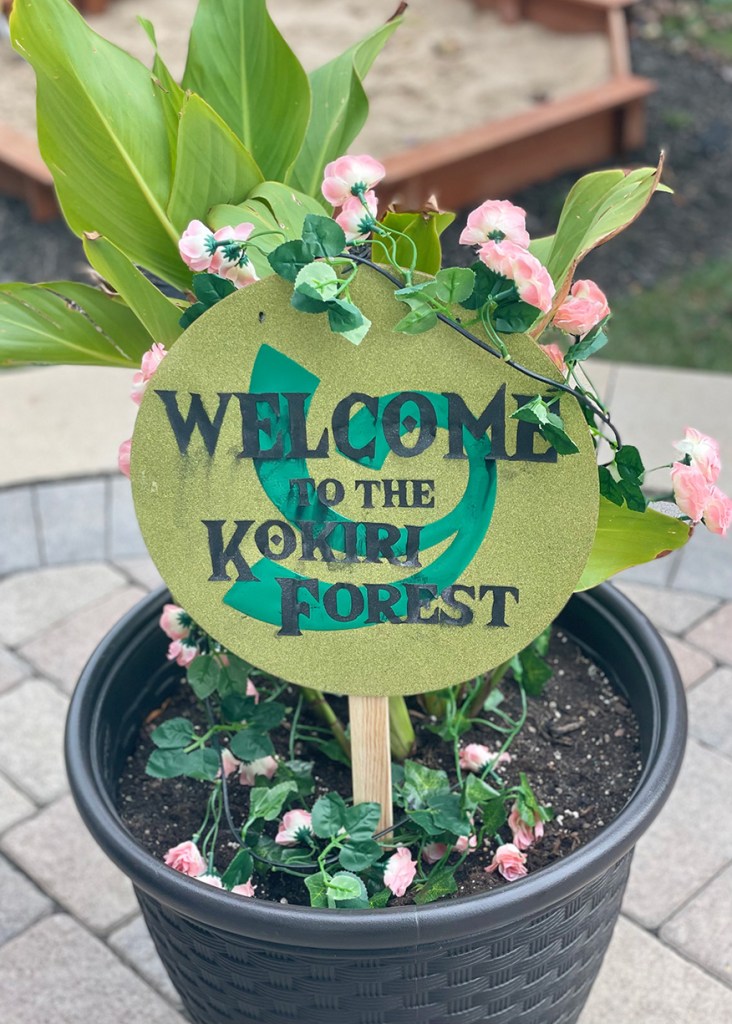
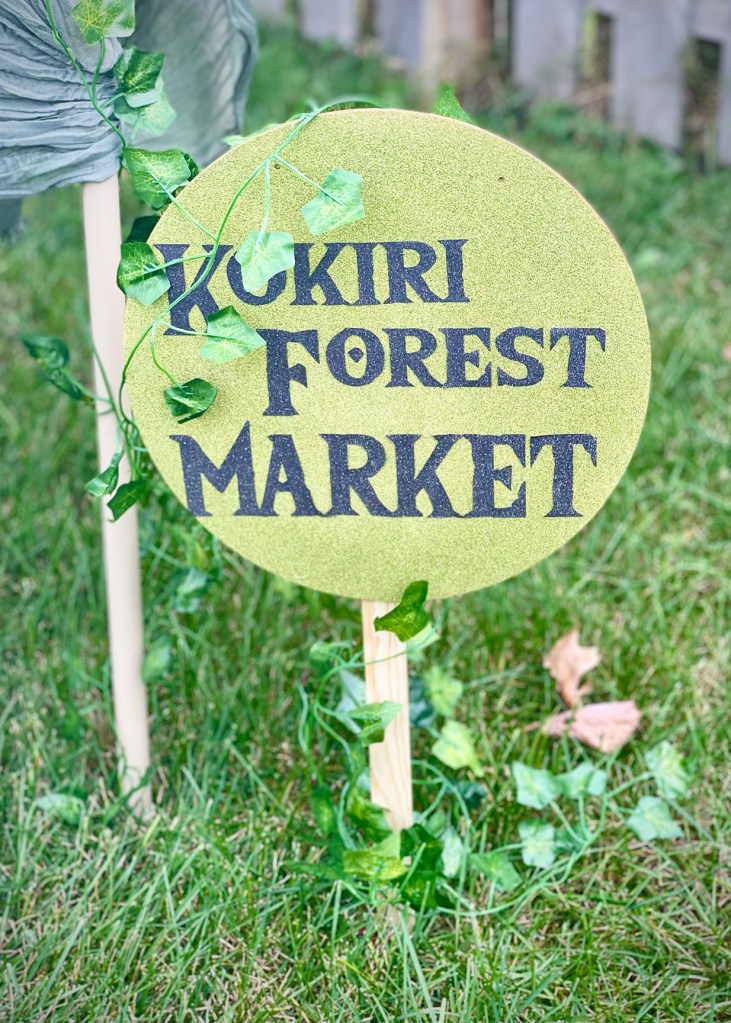
After reading the first clue, our heroes were guided outdoors and were welcomed by a sign transporting them to the Kokiri Forest! I used a strand of faux ivy garland and a pink flower garland to add a little color to this display, which was just stuck in one of the flower pots we have in our yard.
A little further on, they found the foam swords that were referenced in the first clue. The kids loved having these swords. I think it made them feel like they were really heroes on a quest! Not only were they a fun accessory to have, but the kids would actually get to use them to fight an enemy later on in the day!
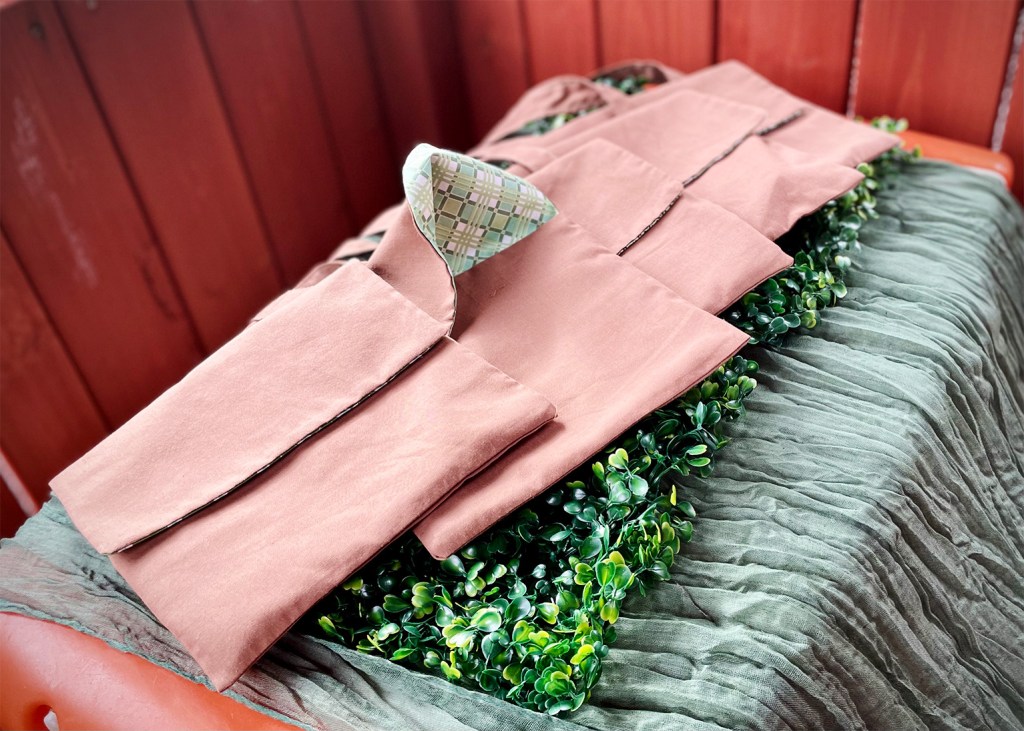
At the “Home” part of the map, they also found satchels for carrying the trinkets they would be finding along the way. I sewed these satchels up myself, because I found it was really difficult to find something similar that wasn’t too pricey. I had the fabrics on hand from a previous sewing project, including some fun green prints that I used for the inside of the satchel. Click here to view the step-by-step tutorial by Aloha Sewing Company that I followed to make them!
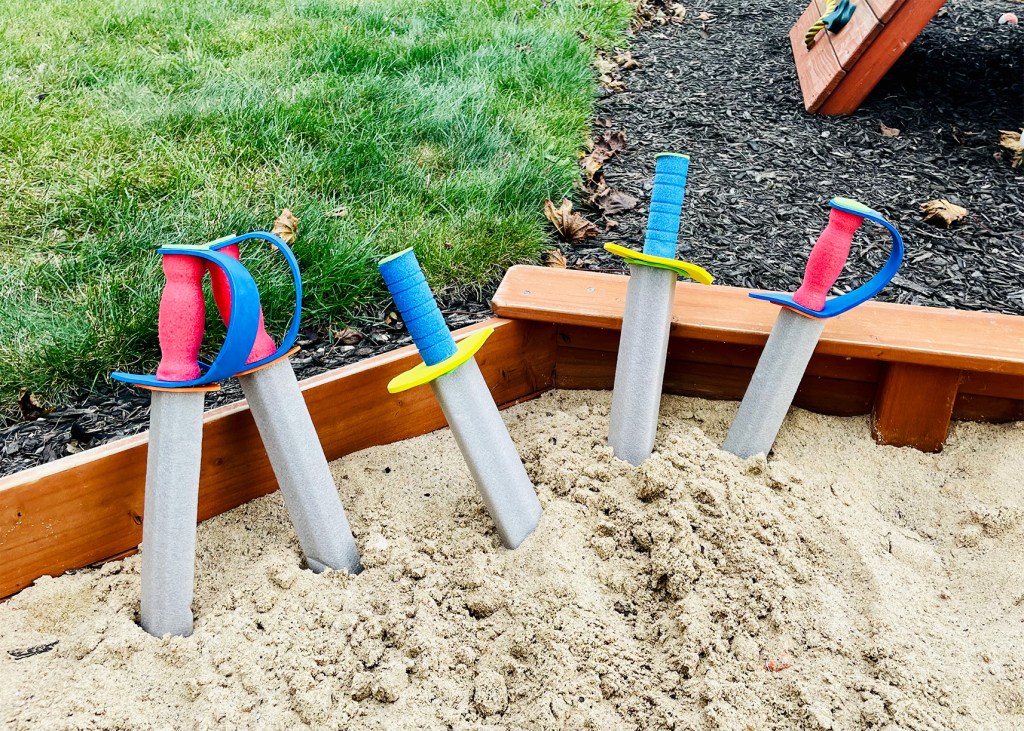
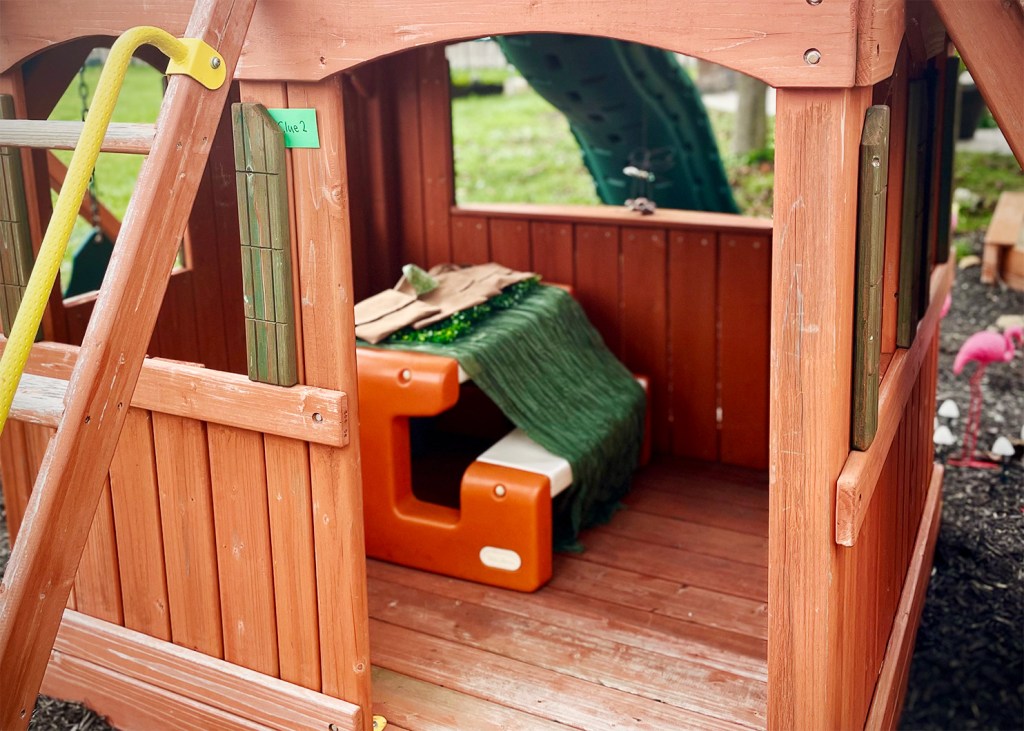
Since the entire quest would take place in our backyard, I took advantage of all the kid-friendly equipment and garden spaces we already had there. Our sandbox was perfect to hold the swords in place, and the playhouse became the “Home” from Clue #2 where the kids would find their satchels.
I hid all the clues in little green envelopes for them to find in and around these areas. In addition to telling the kids where to go next, the clues also listed out all the items they should have gathered before moving on to the next spot on the map. Since the satchel and the items they found on the way would also double as their going-home goody bag, I wanted to make sure everyone had their items before moving on!
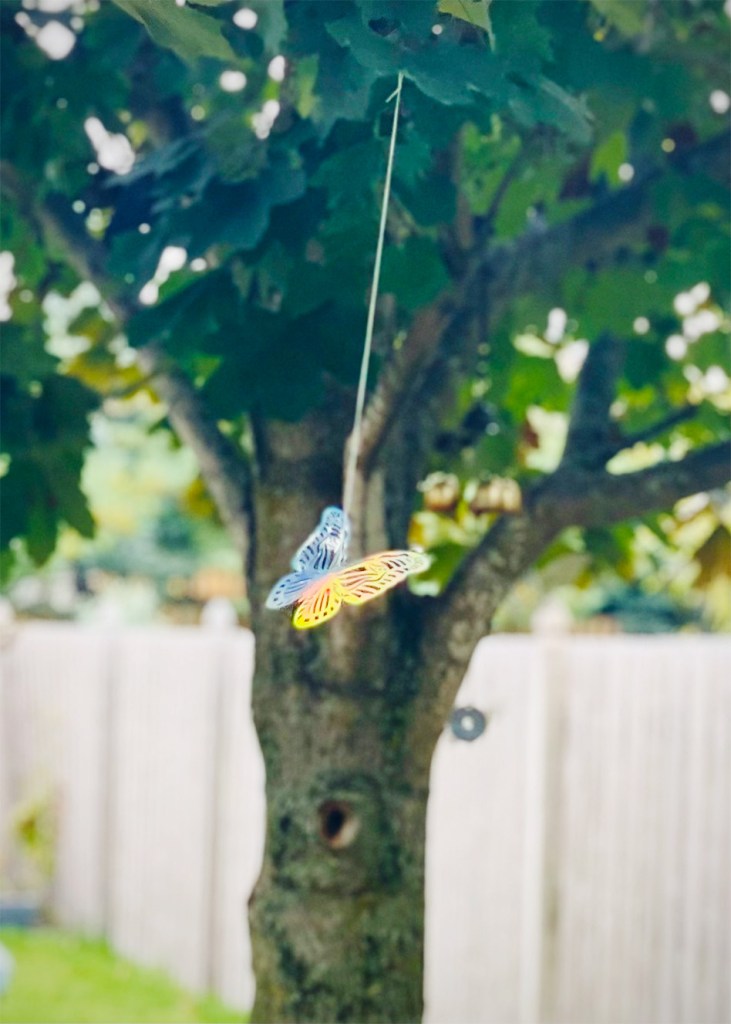
After finding both the second clue and the second Zelda medallion, our guides led the group to the “Fairy Tree” part of the map. This was a large tree in our yard where I had hung some “fairies” from the branches. The day of the quest was a bit windy, and the fairies came to life blowing in the wind!
The fairies had either colorful felt balls or mini LED balloon lights glued to their iridescent butterfly wings. The LED fairies gave off a twinkling glow that reflected off the iridescent wings, giving them a more magical look like the fairies from the Zelda video games.
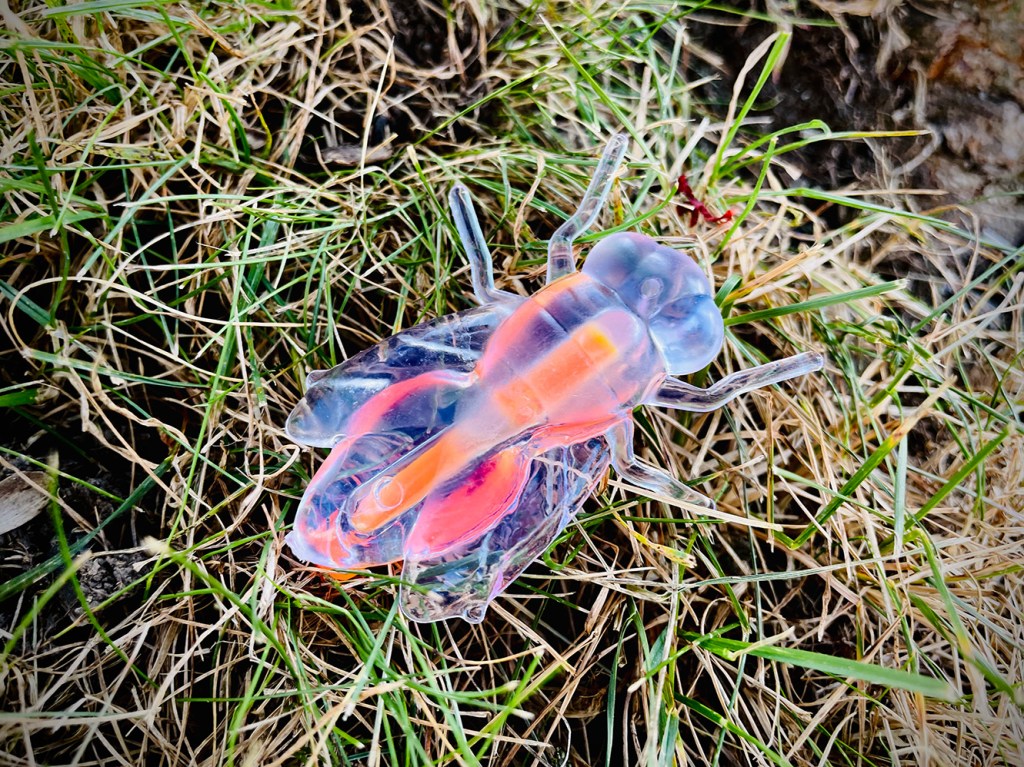
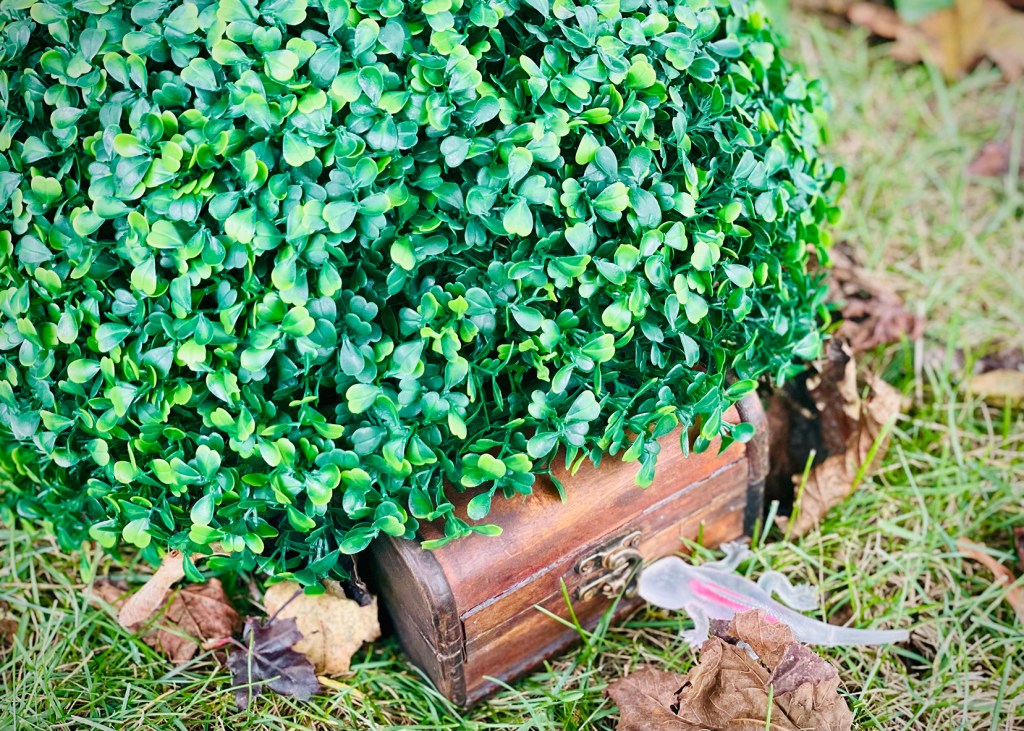
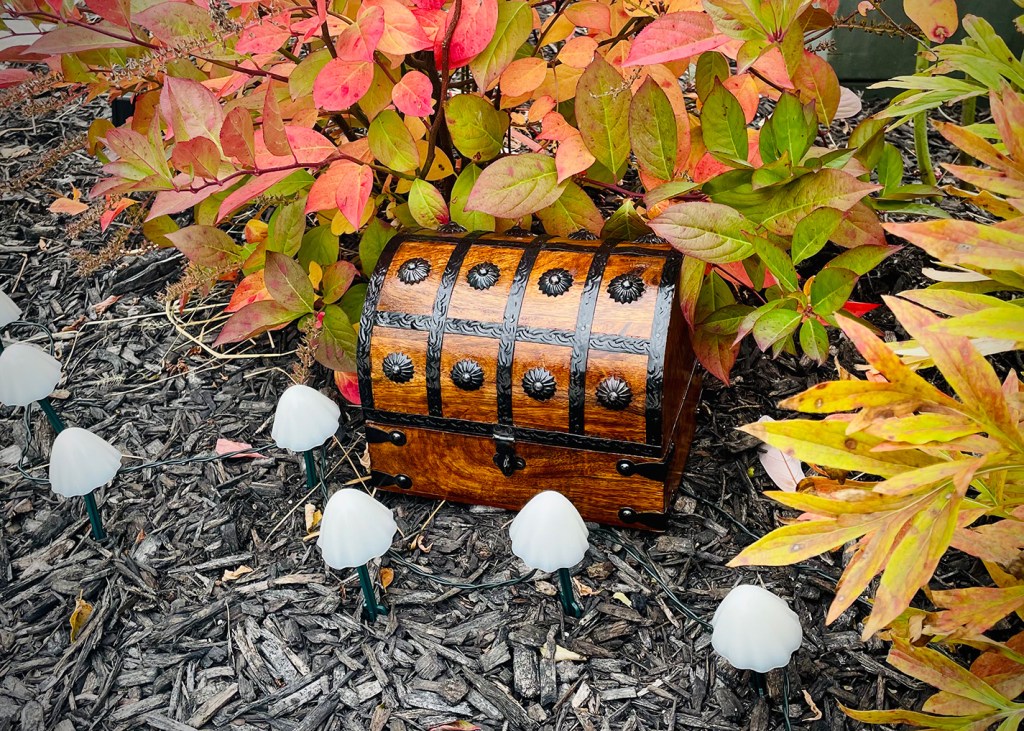
The second clue asked them to search above in the tree branches and grab a fairy of their own to take home. It also asked them to look down below in the grass, where I left some glow stick critters hiding. While the kids were collecting up each of these for their satchels, they quickly found a treasure chest hiding the third medallion! To make it a little more challenging to find the treasure chest here, I placed it peaking out from under a faux boxwood ball. These came in halves, and I thought it looked a little like a real boxwood bush when it sat in the grass. Not only were they perfect for hiding all the treasures in this quest, I also plan to use them later as outdoor holiday decorations!
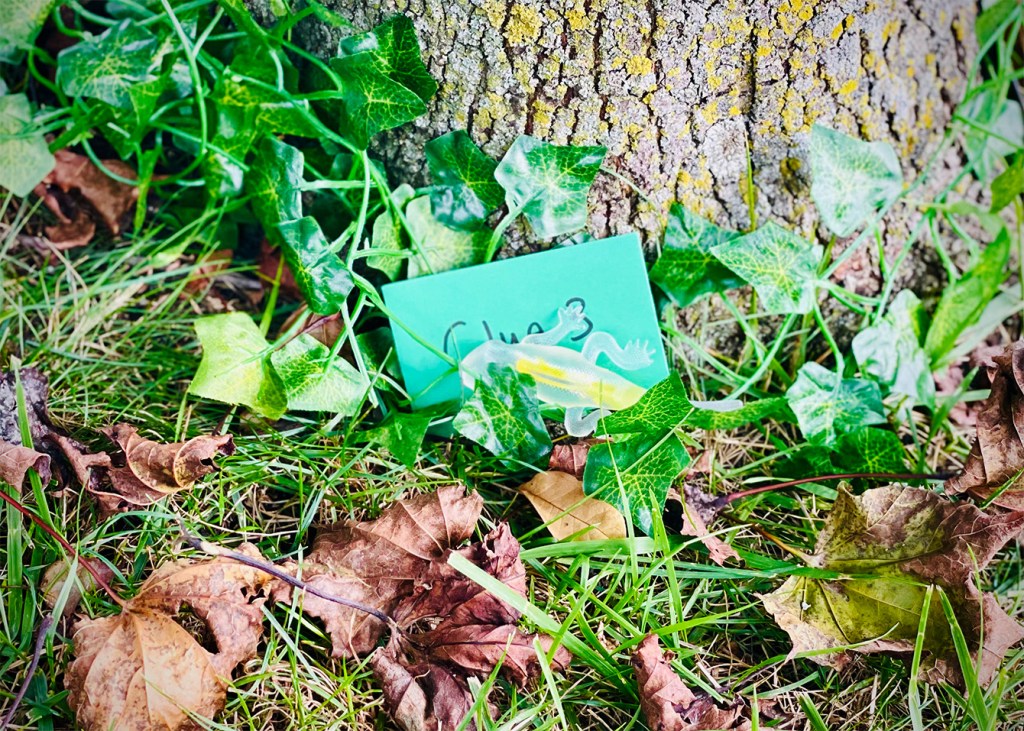
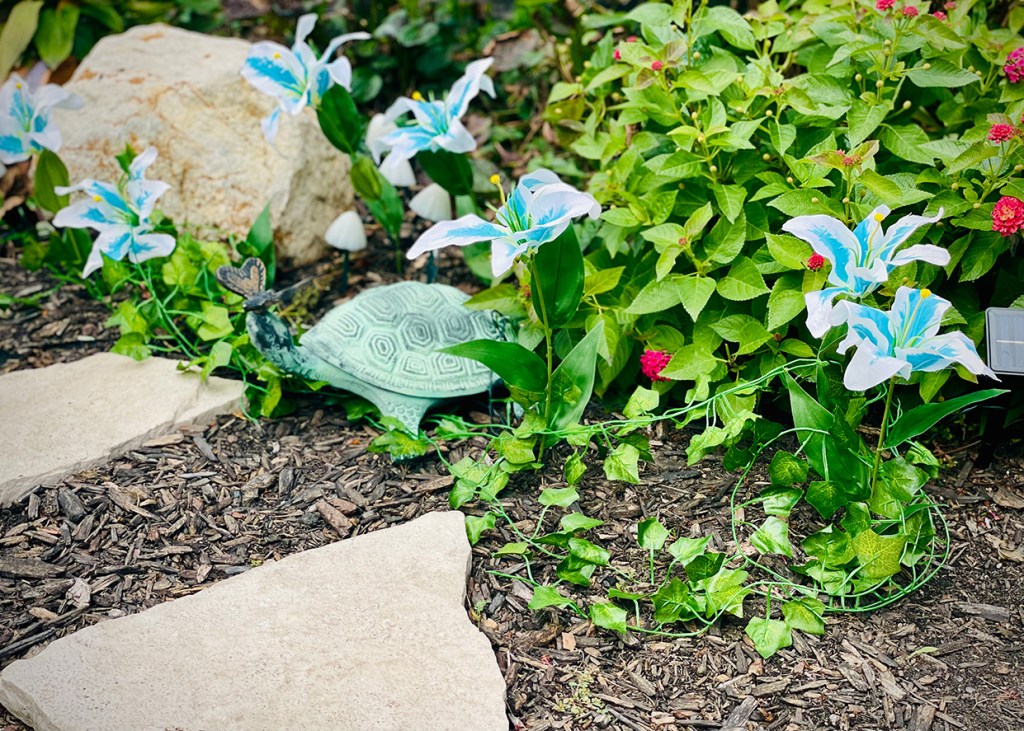
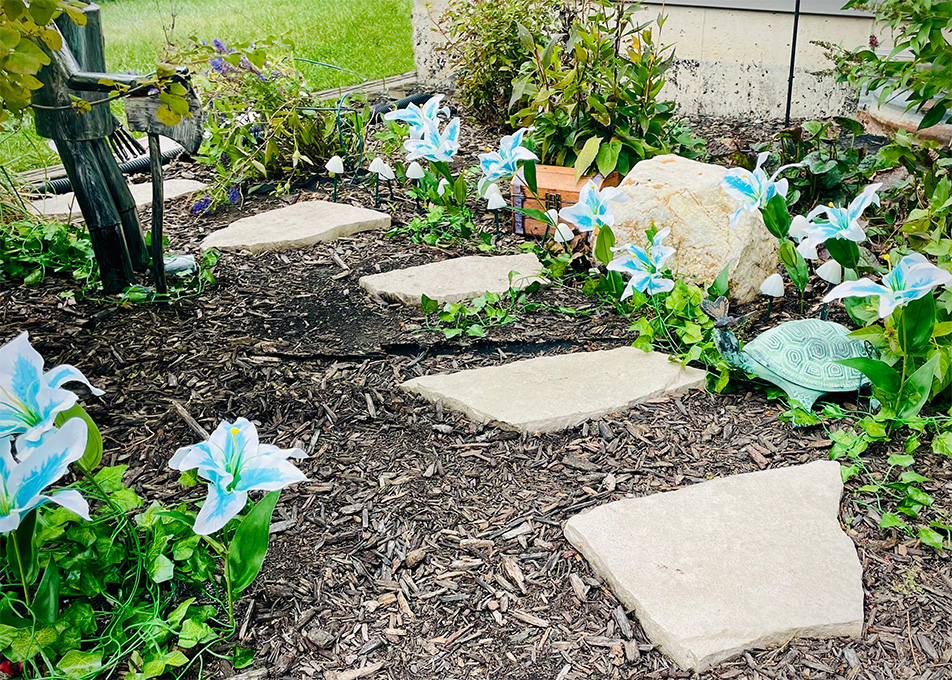
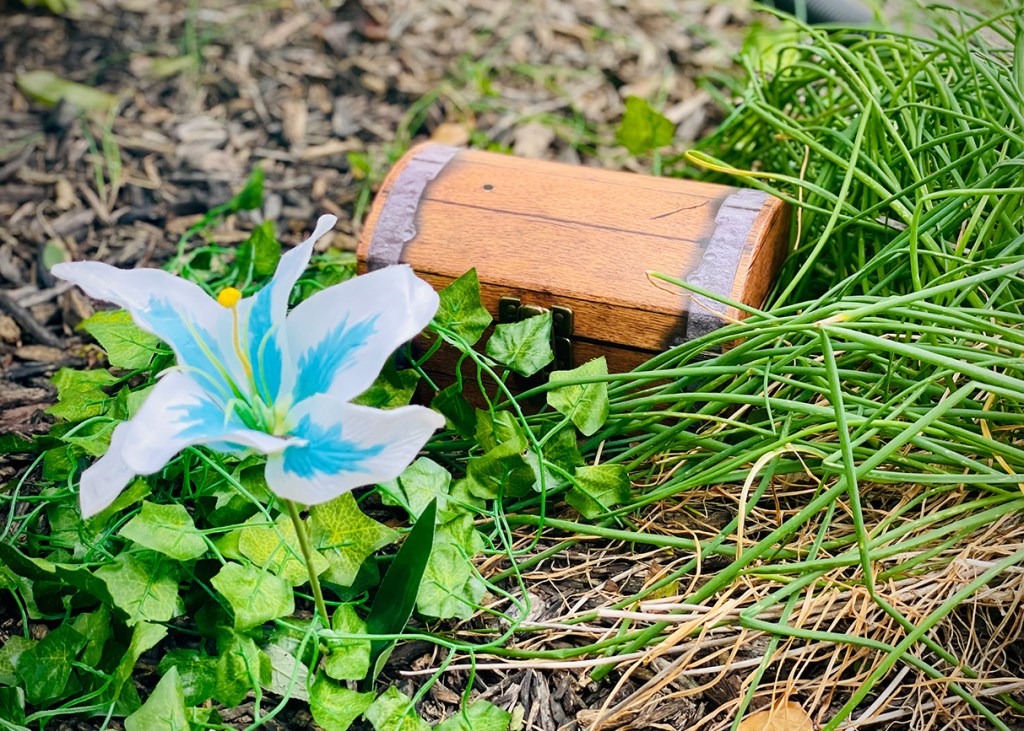
Clue #3 guided the group to the “Garden of the Silent Princess”. This was easy to spot, because it was filled with white and blue “Silent Princess” flowers from the video games. To make these flowers look just like the ones in the game, I painted plain white silk flower lilies with blue acrylic paint. This was surprisingly easy, and looked even more realistic when I watered down the paint and let it soak in to the fabric. Once they were dry, I was able to stick the wire end of the flowers right into the dirt of our garden!
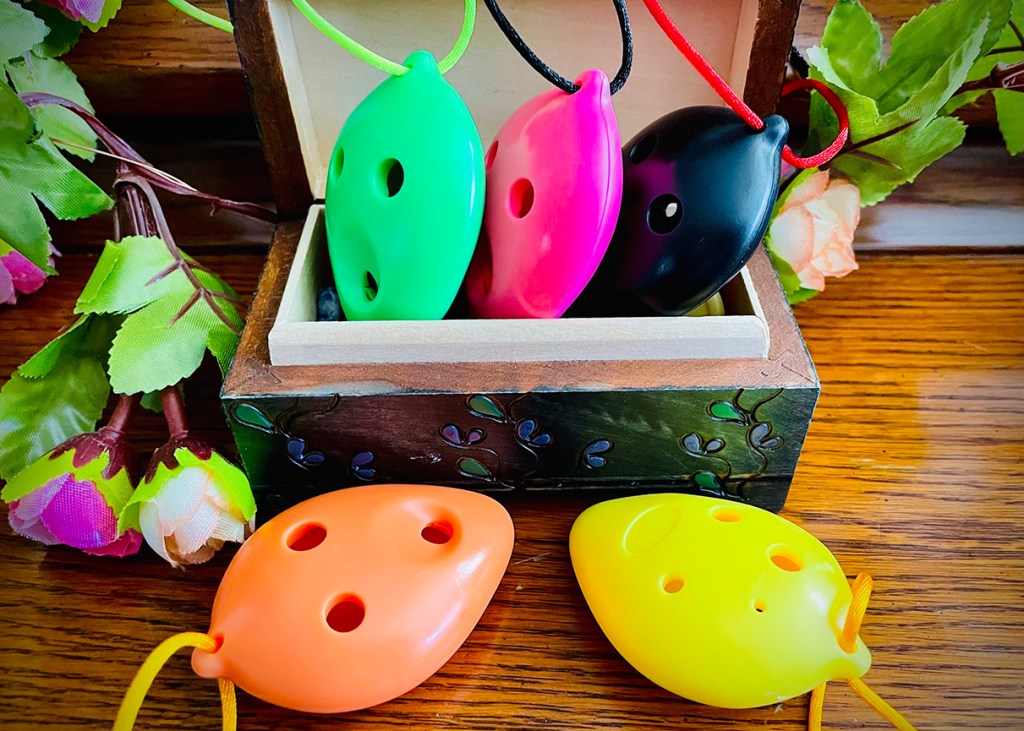
Among the Silent Princess flowers and regular garden plants, there were two treasure chests hiding. One had the fourth Zelda medallion, and the other held small ocarina toys. The ocarinas were a “gift from Zelda”, inspired by the magical ocarina she gifts in the game! I really love these little ocarinas– several “notes” can be played on them, much like a recorder! And, of course the kiddos loved making their own music as soon as they found them!
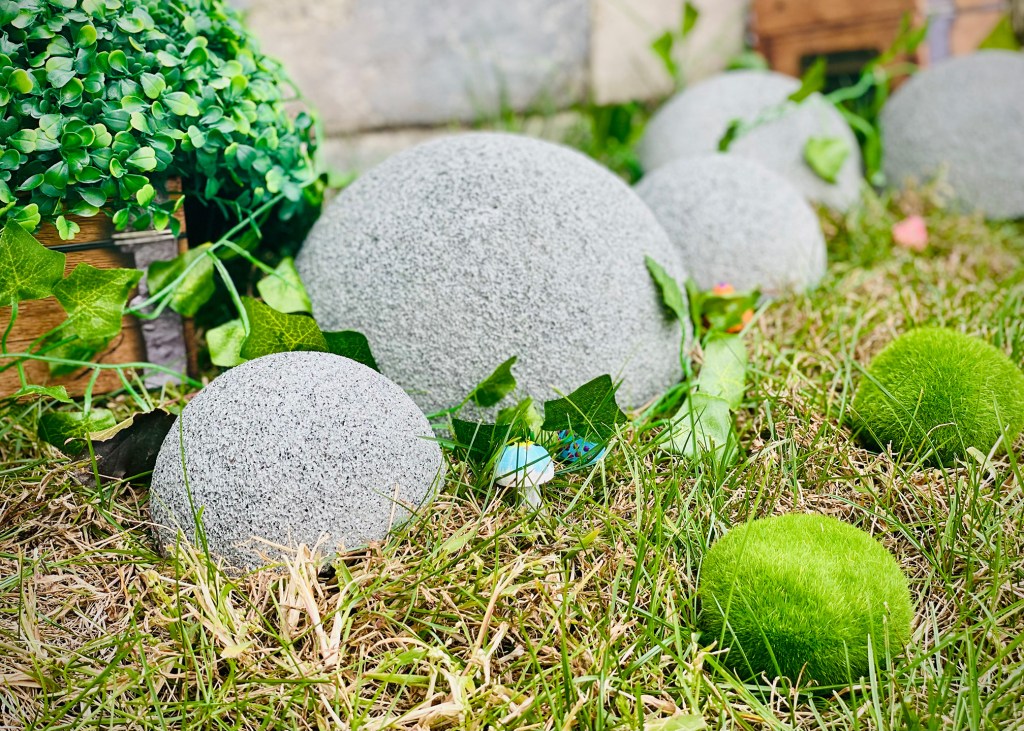
The fourth clue took the group to a “Goron Circle”. Gorons in the game are rock-like creatures, so it was fitting to use rocks to define this space. I didn’t have any extra garden rocks for this spot, so I cut 6″ and 8″ styrofoam balls in half and spray-painted them with textured gray paint to make them more realistic-looking. (You can buy the balls already cut into halves, but I didn’t learn this until after the fact!)
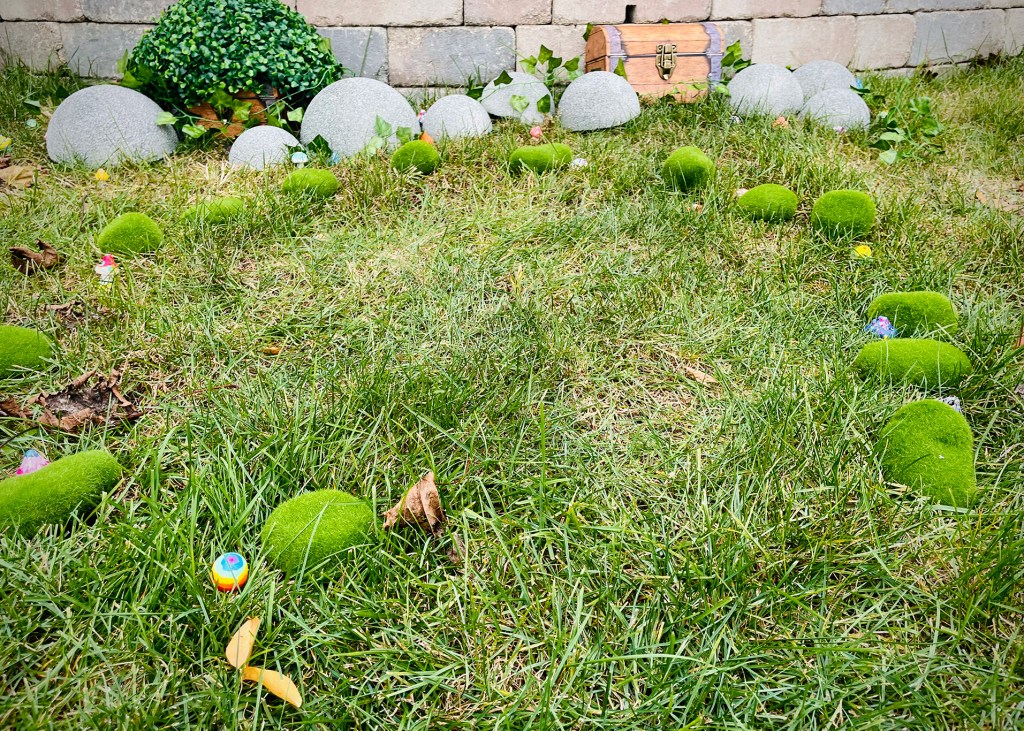
In addition to the spray painted rocks, I used faux moss crafting rocks to create a “Goron Circle” puzzle the kids needed to solve to find the fifth clue. The circle of faux-moss rocks was actually a puzzle; the kids had to figure out a rock was missing from the circle. The missing rock was hiding a little way away, and when the kids found it, they also found the fifth clue!
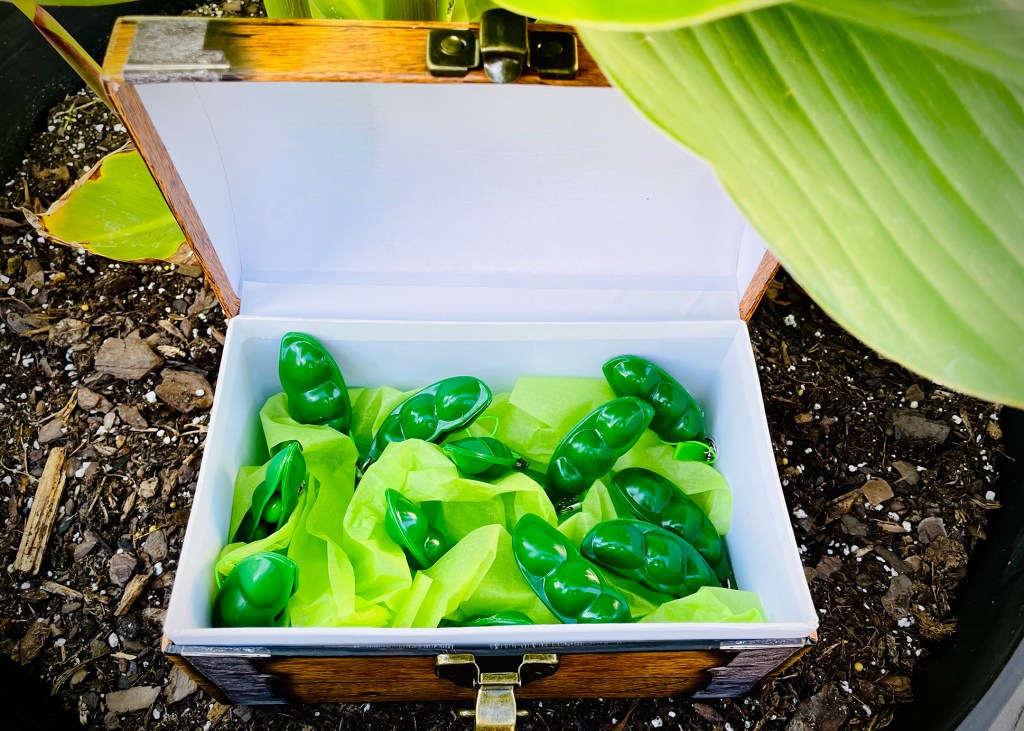
Two chests were placed here as well, with one containing the fifth medallion and the other containing “magic beans” for the kids to collect. These beans, also an idea inspired by the Zelda games, were “squeeze-a-bean” fidget toys that I thought would be a nice addition to the kids’ satchels to take home after the party.
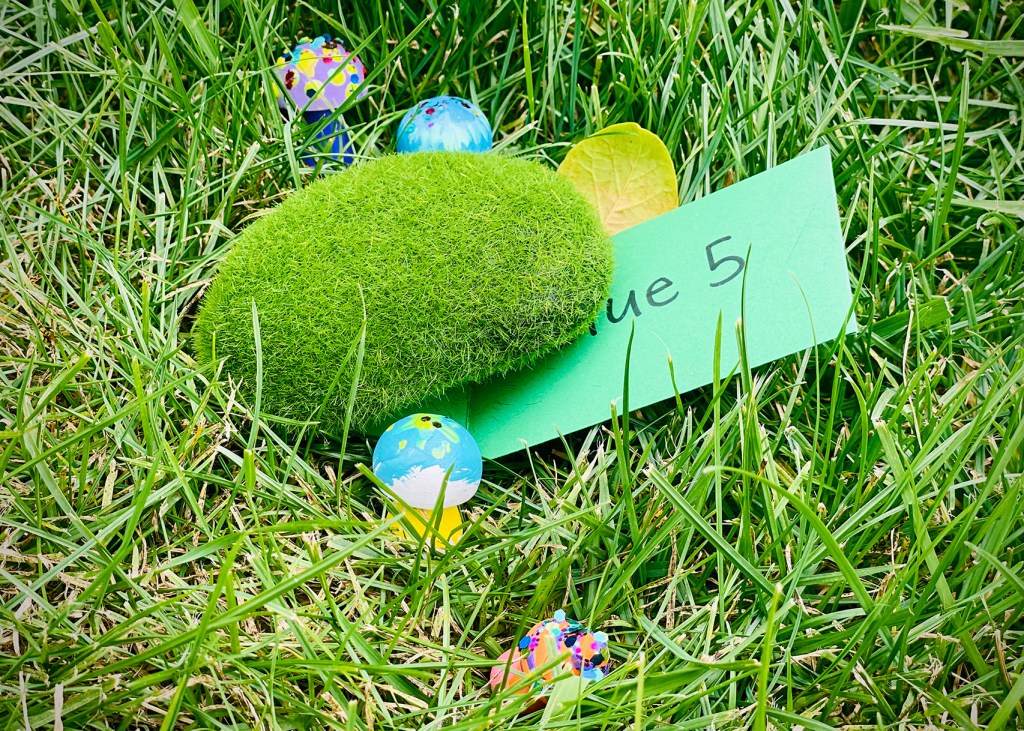

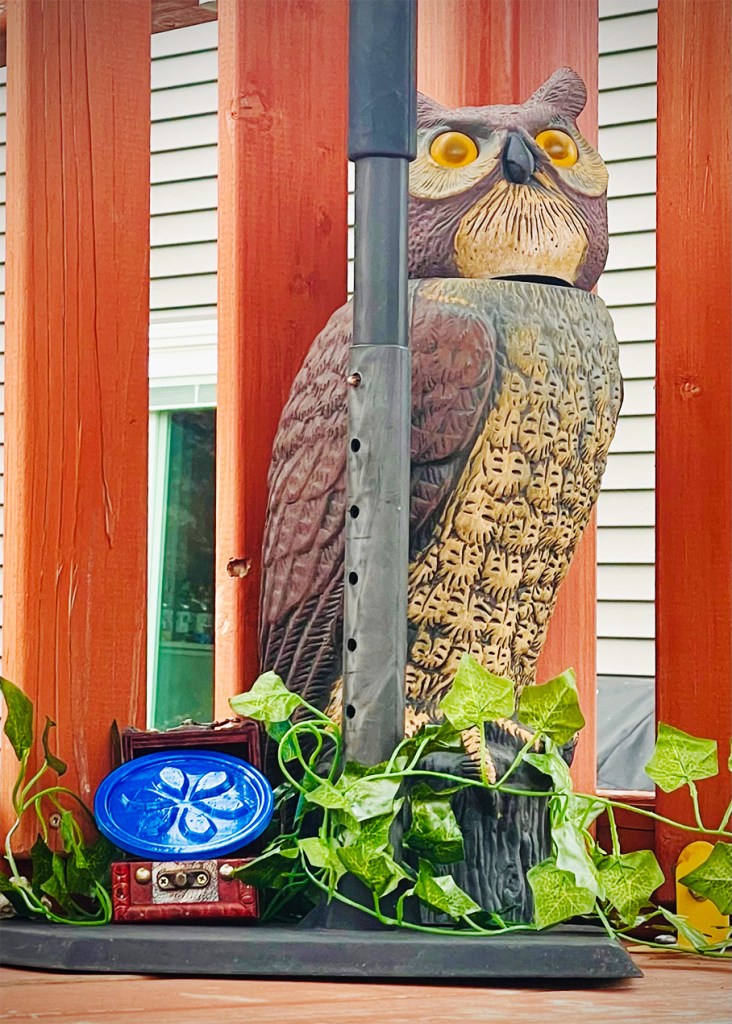
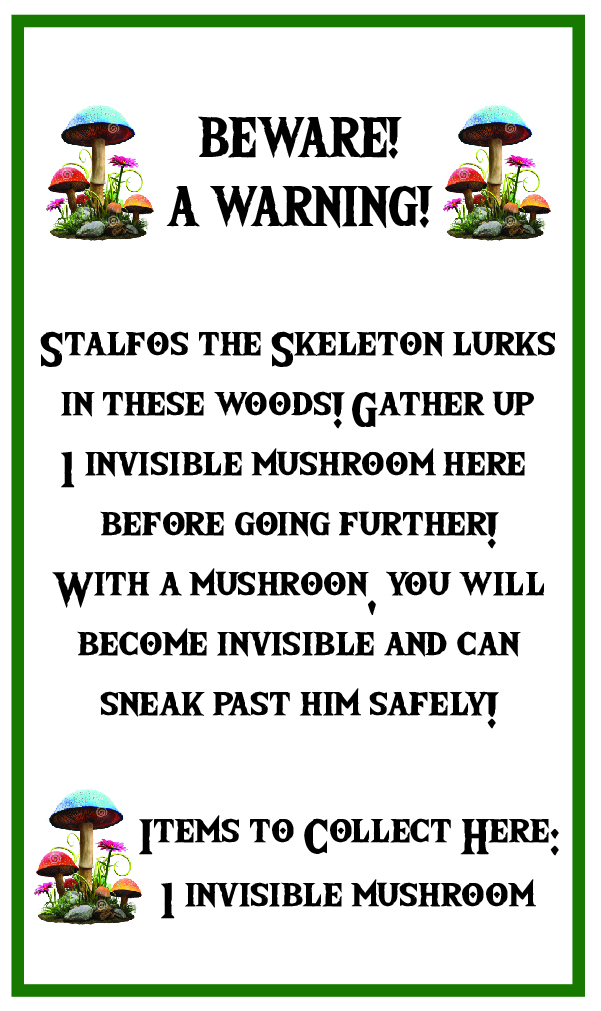
The fifth clue also had a bonus card in the envelope. It identified that all the colorful mushrooms around this area actually were “invisible mushrooms”, an item that would help the kiddos sneak past Stalfos the Skeleton who was lurking up ahead. (We’re lucky my daughter’s birthday is close to Halloween, we made use of our Halloween skeleton yard decoration for this part of the quest!)
My daughters and I painted these wooden mushrooms, which came unfinished, using all kinds of colored paints, glitter, sequins, even googley eyes on a few! I let them get as creative as they wanted to be, and we ended up with some really beautiful creations. It was a fun little project that kept the kiddos busy for a while, and the finished mushrooms added a lot of interest to our “Goron Circle”.


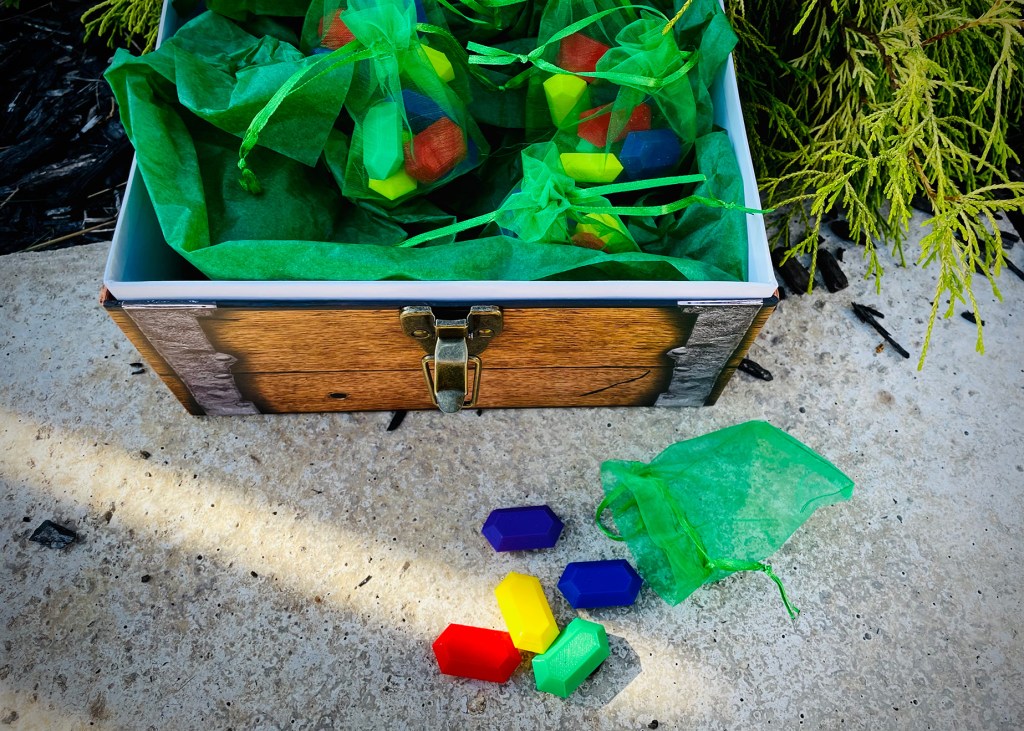
After safely making it past the skeleton, the kids made their way to the part of the yard we called the “Mushroom Forest”. I placed several strands of these cute, fairy-light mushrooms around the garden here, to add to the mushroom theme. Here they would also find the last of the Zelda medallions, and a treasure chest filled with bags of “Rupees”, the currency the characters use in the Legend of Zelda games. Rupees are colorful gems, and I found a fun set of them from Fistful Designs on Etsy. I packaged them up in little organza bags so each kid could get a set with one of each color.
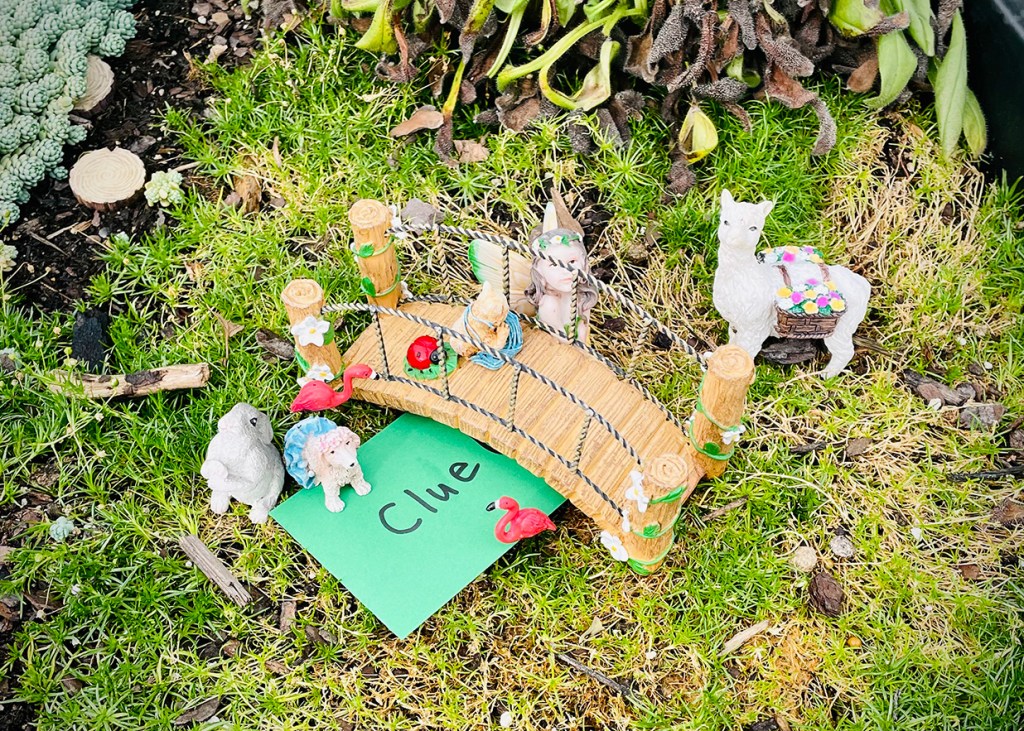
The sixth clue was hidden in my daughters’ fairy garden, and it explained that our heroes would need the Rupees they just found to buy the seventh clue at the Kokiri Forest Market!
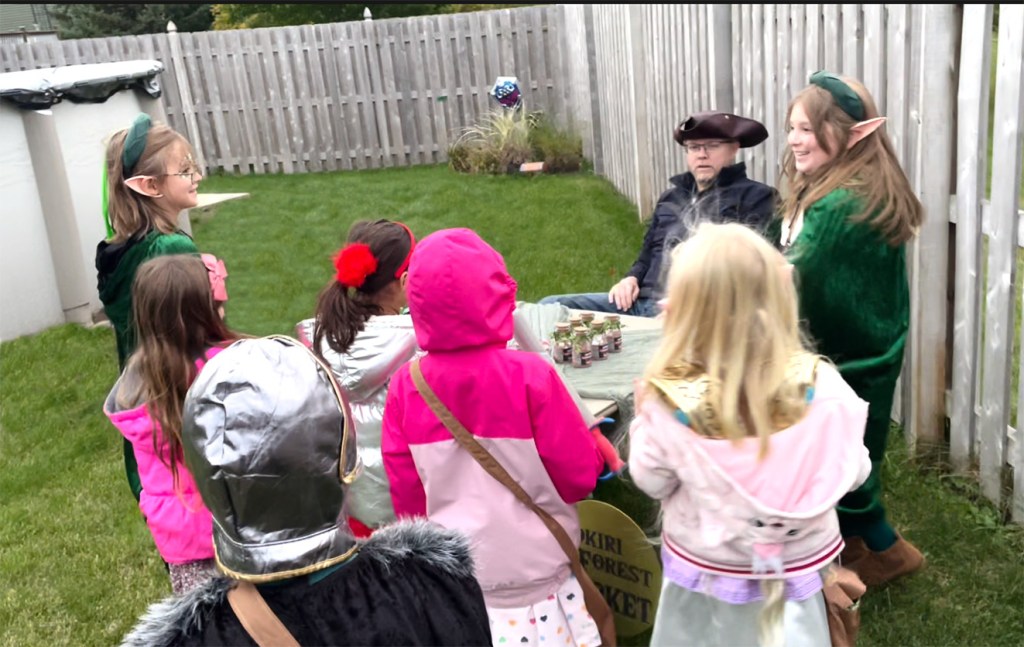
My husband participated in this part of the quest, playing the character of Market Shopkeeper. Making sure everyone got a turn to participate equally in the “shopping” experience, the kids really got a kick out of interacting with him. He wore a costume pirate hat, and pretended to be a tough-tempered (but actually nice) guy.
The kids had to work together and pool their Rupees to “buy” the seventh clue. Everyone definitely found this interaction with the birthday girl’s Dad to be entertaining, and we all enjoyed some laughs. My husband really made this part of the quest come to life; he is definitely the best!!
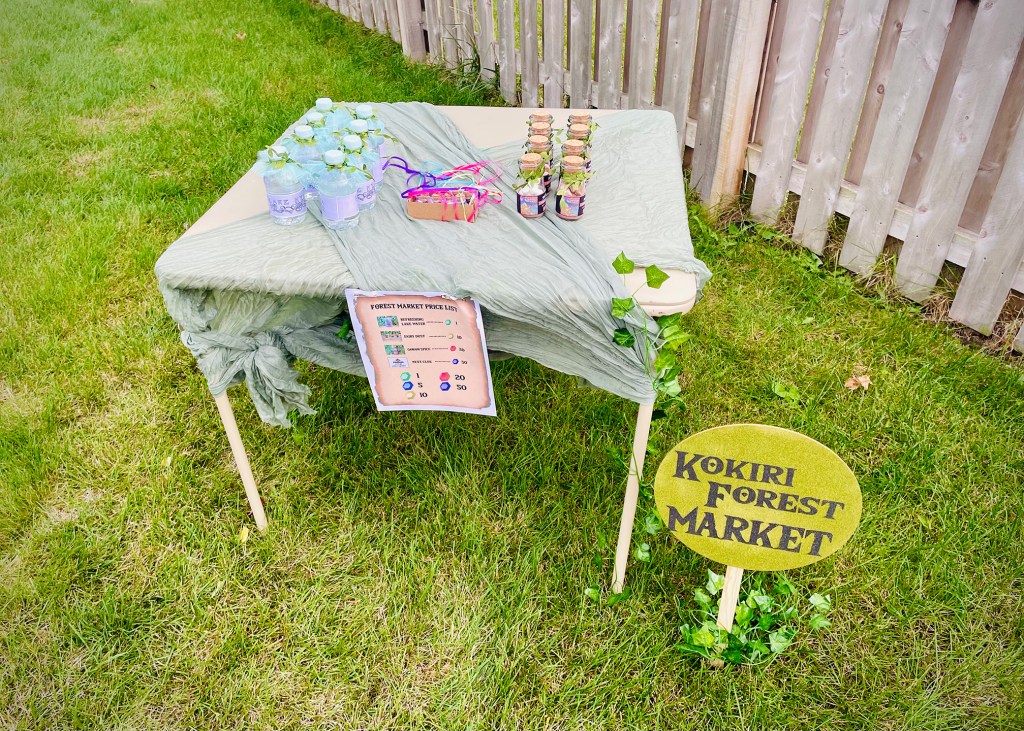
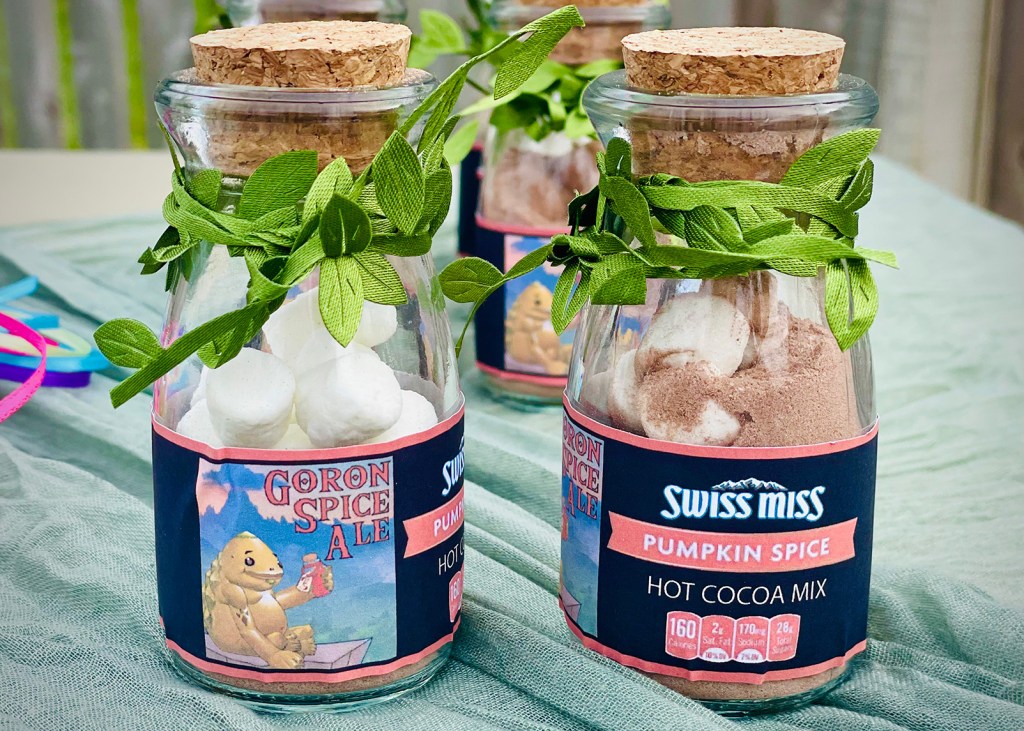
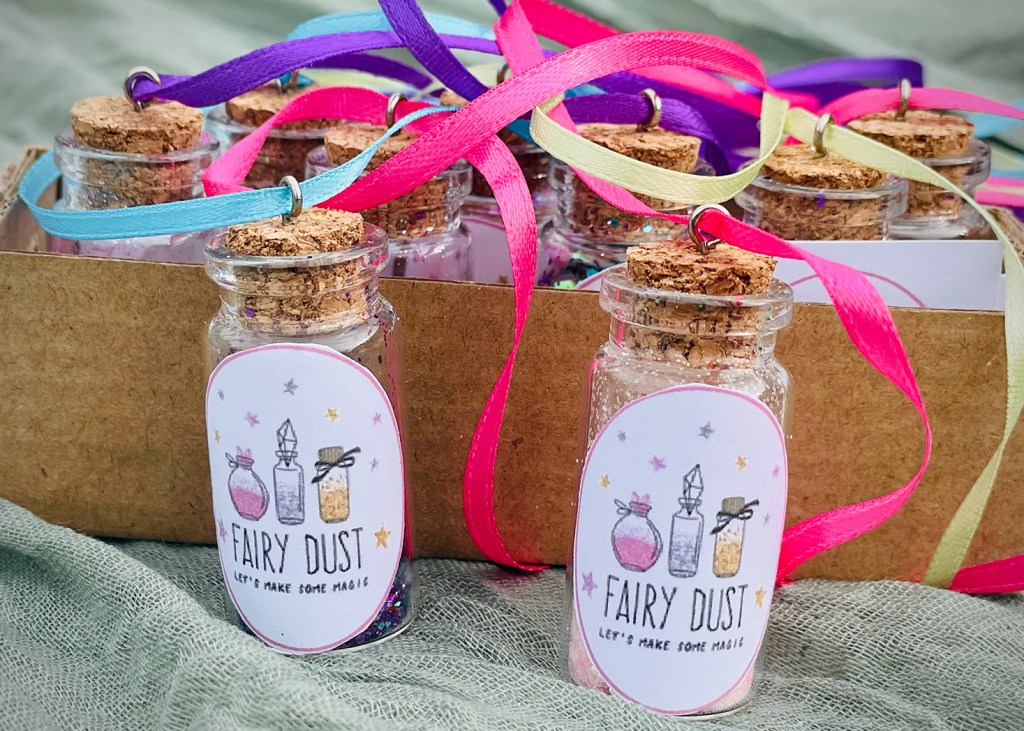
Attached to the Market table there was a sign showing the cost of all the items available for purchase including: “Lake Hylia Water”, “Goron Spice”, and “Fairy Dust”. The “sign” was just a printed list pinned to these gauzy, green table runners. The runners were perfect for adding a bit of color and ambiance to an ordinary folding table!
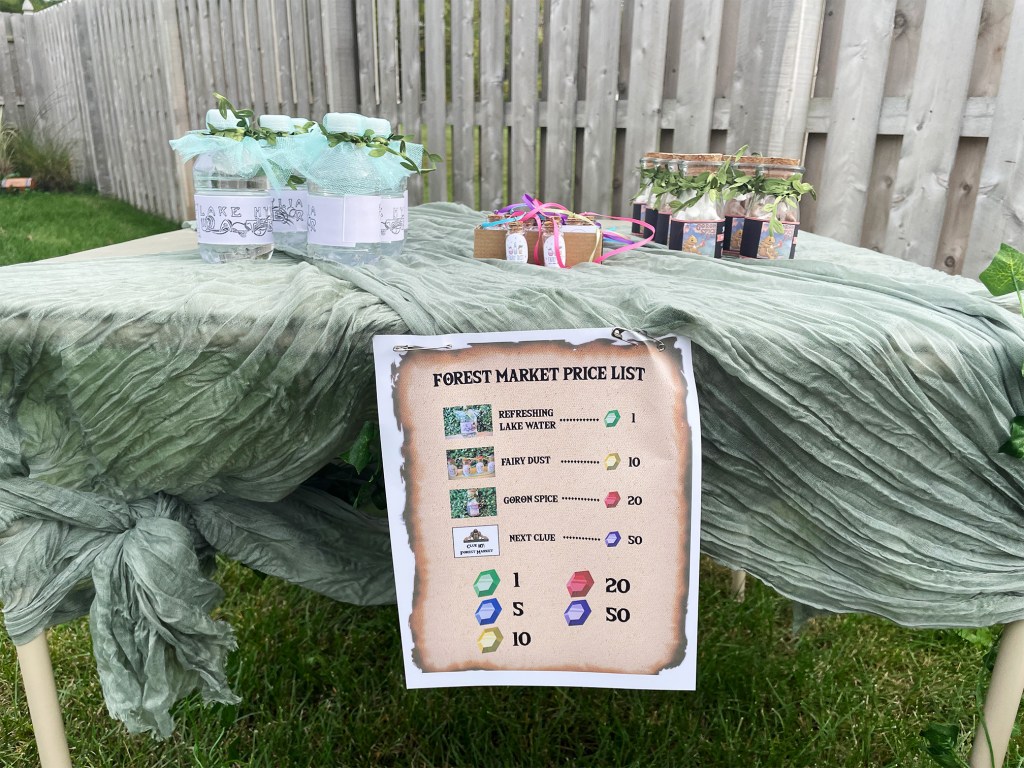
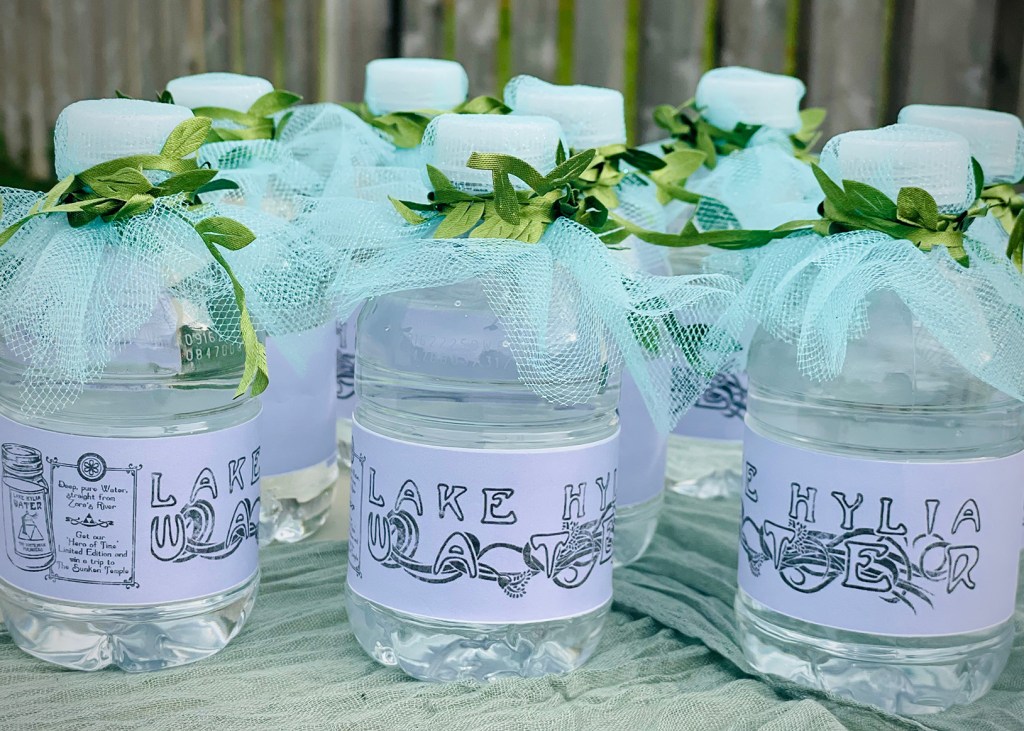
Lake Hylia is an important location in the Legend of Zelda games, so the mini bottles of water decorated with a game-inspired label, sparkly tulle and leafy, green ribbon was a clear choice as an addition to our Forest Market. They turned out so pretty, we almost didn’t want to open them! The “Goron Spice” in the milk pot jars was pumpkin spice hot chocolate powder mixed with marshmallows. The label included the Swiss Miss details so the moms of our guests would know exactly what was inside, and the kiddos could enjoy their drink later. The last item was the “fairy dust”. My girls helped me to craft these mini glass bottles into wearable necklaces containing their own special mix of sparkly glitter! They were super-easy to make, and the kiddos loved them!
After the kids each had a chance to “purchase” all of the items and add them to their satchels, they were off to the next location. The seventh clue they received from the Shop Keeper instructed them to head past Lake Hylia (our backyard pool) and look for the Hylian Shield.
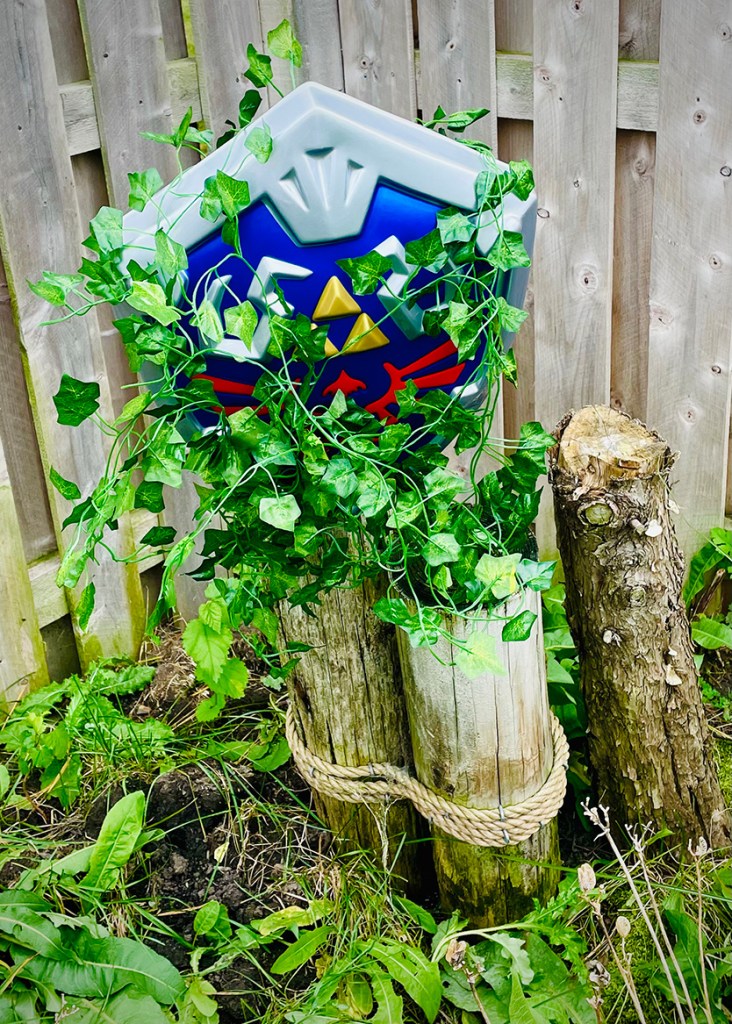
The Hylian Shield is an important item in the Legend of Zelda games that is often found by the main character during gameplay. Similarly, I left this shield hidden in some ivy garland for the kids to find. Since all six of the Zelda medallions had already been found, I used this location to hide the shield and make them feel like they had found a very important treasure!
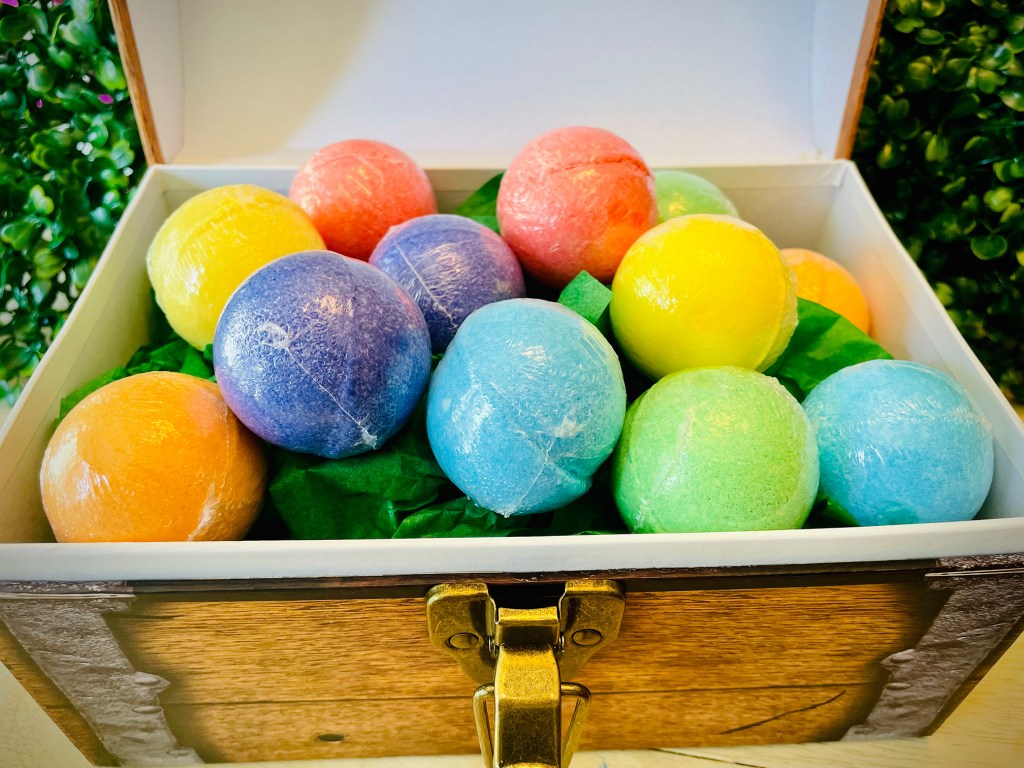
This location also had a treasure chest filled with “bombs” (bath bombs!), which is a common defense item used in the game, and was a fun addition to their satchels.
Once they also found the eighth clue, they learned the shield would help protect them from Poe the Ghost, who they would soon have to “defeat” in order to finish the quest.
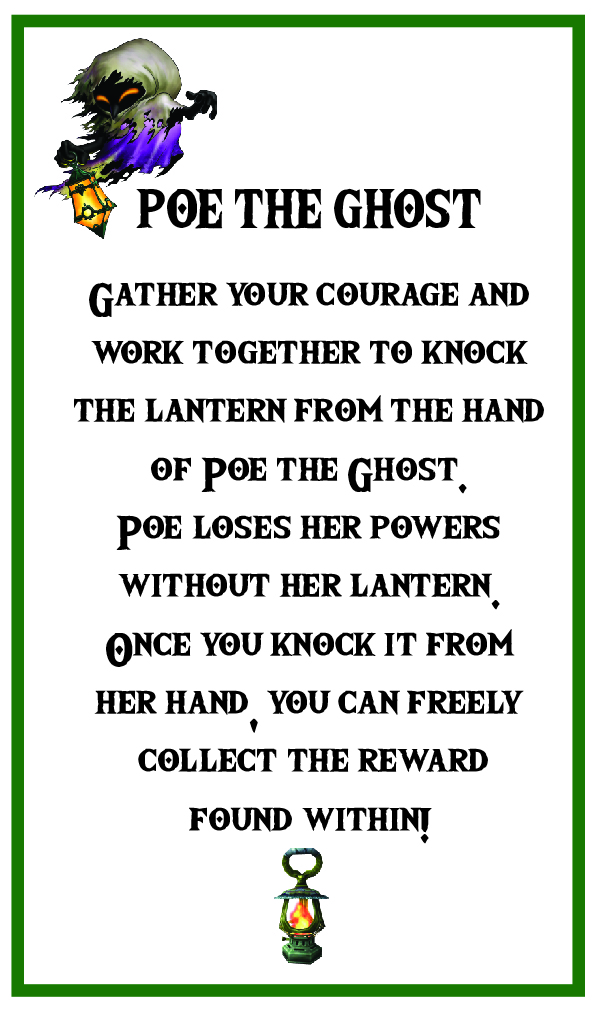
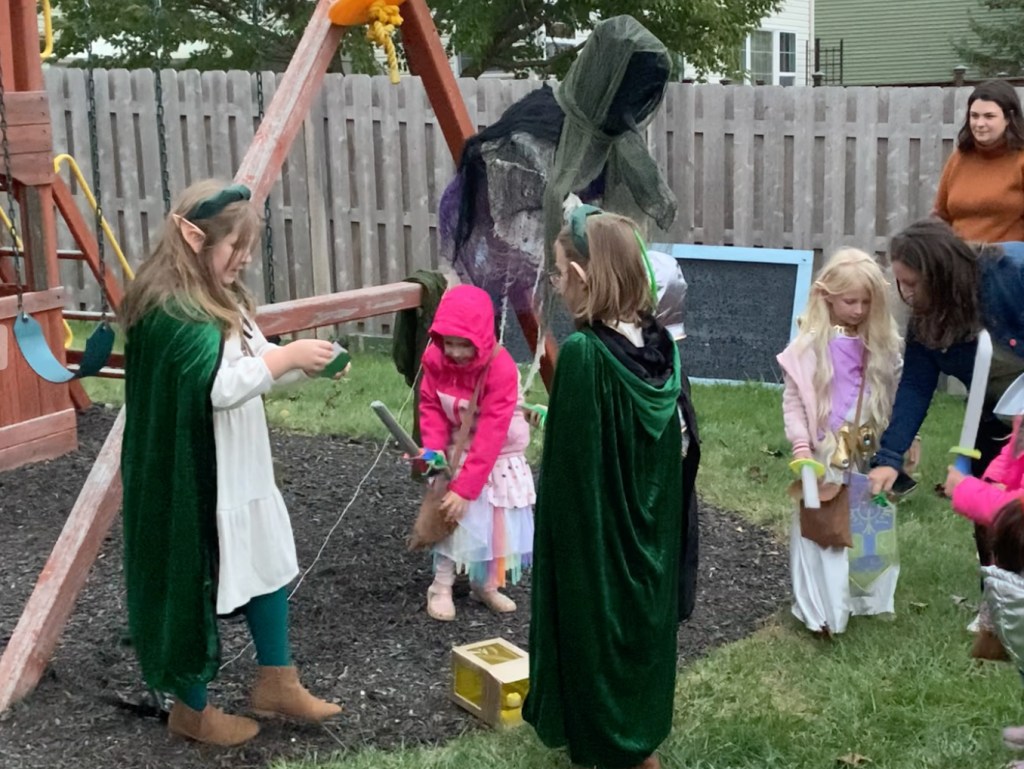
Knowing this quest wouldn’t be complete without our heroes defeating a “bad guy”, I had the ninth clue instruct the kiddos to knock the lantern from Poe’s hand. When the lantern fell to the ground, Poe would lose her powers, and the kids could freely take the treasure from within.
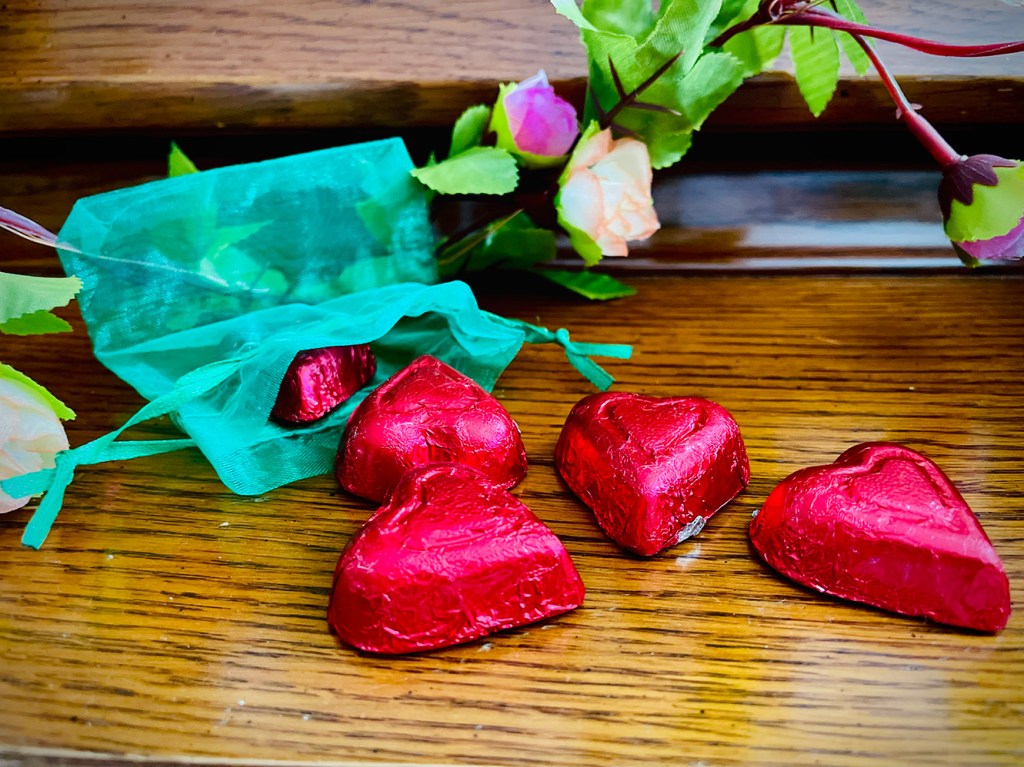
The lantern was made from an Amazon delivery box that we cut windows into, and then spray painted gold. We added some yellow colored cellophane sheets for windows, and hung the whole thing loosely to the ghost’s hand with curling ribbon. The treasure here was little bags filled with red foil-wrapped chocolate hearts, mimicking the life hearts you need to keep your health up in the game.
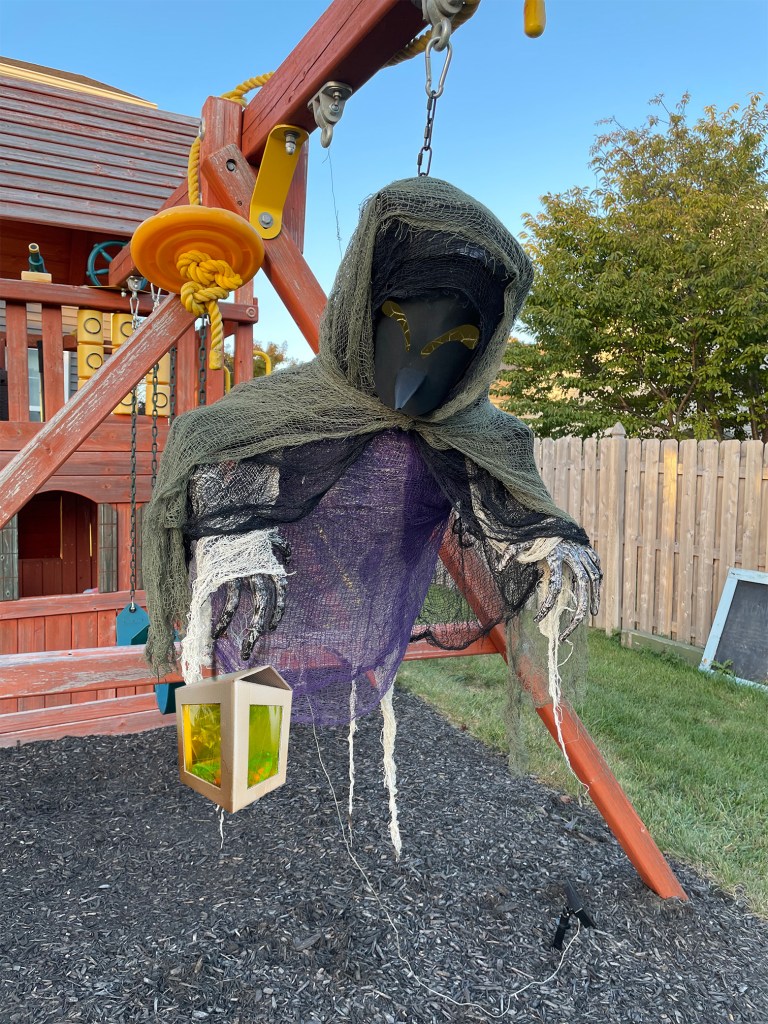
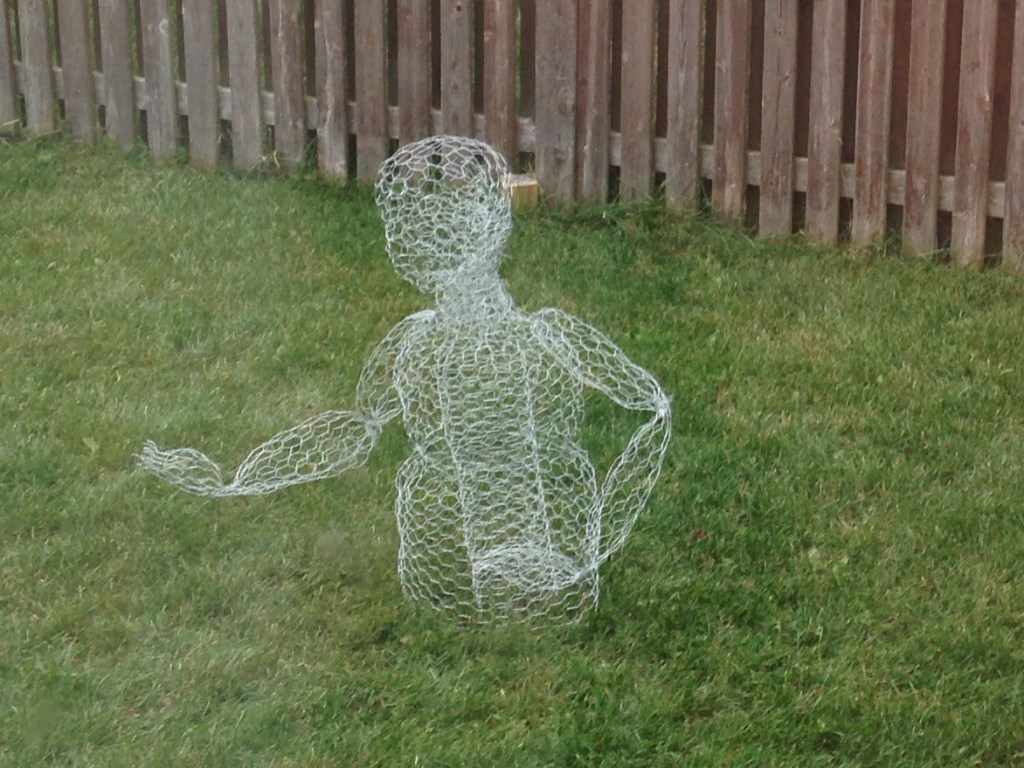
I chose Poe the Ghost out of many other enemies from the game for a couple of reasons. Poes are ghost-like enemies in the Legend of Zelda games that haunt the forest temple. This definitely fit our forest-theme, but I also chose this ghost because I already had a “ghost” on hand that I could dress up and use. A few years ago I crafted a spooky chicken-wire ghost to use as part of our outdoor Halloween decor. It worked perfectly as a frame for some creepy cloth, monster arms (from Target’s halloween department), and a paper face. I think she turned out very close to the real thing! The lantern was a good target and saved my ghost decoration from being demolished by the kiddos beating her up with their foam swords. Also, it was a good option to fill with treats for their take-home satchels!
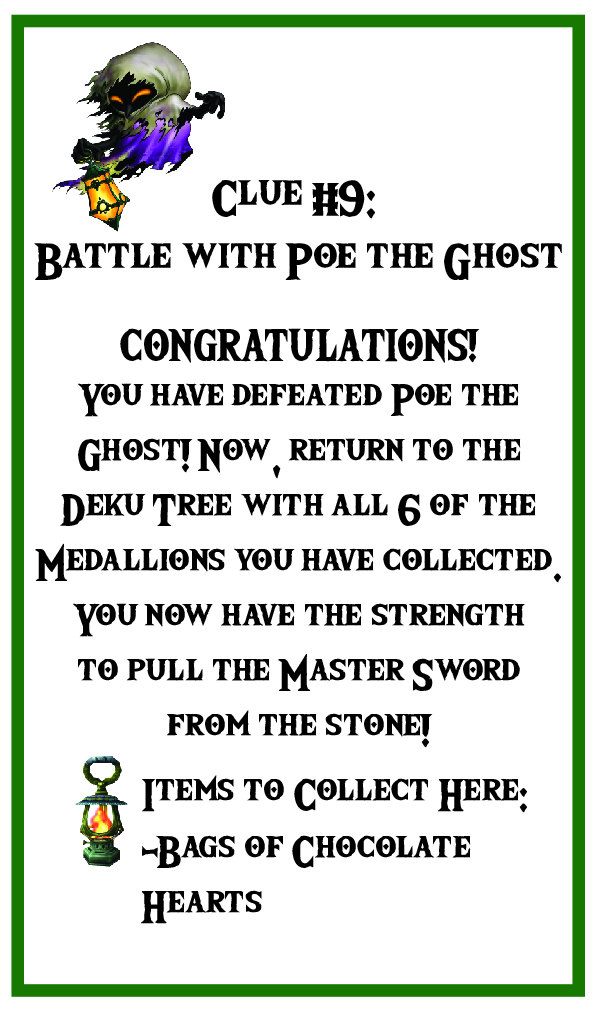
Once Poe was defeated and the chocolate heart treasure was found, the last clue instructed the group to return indoors to the Deku Tree where the quest began. There they would return all six of the Zelda Medallions they had collected, which would “give them the strength” to pull the Master Sword from the stone.
Our Forest Guides led the group back indoors where they found the sword standing in a “stone”. The stone was actually more Amazon shipping boxes taped together and spray painted with the same textured gray spray paint I used on the Goron stones. This was a surprisingly fast and easy project, but also, it turned out to be a pretty substantial stand for holding the sword! Win-win!
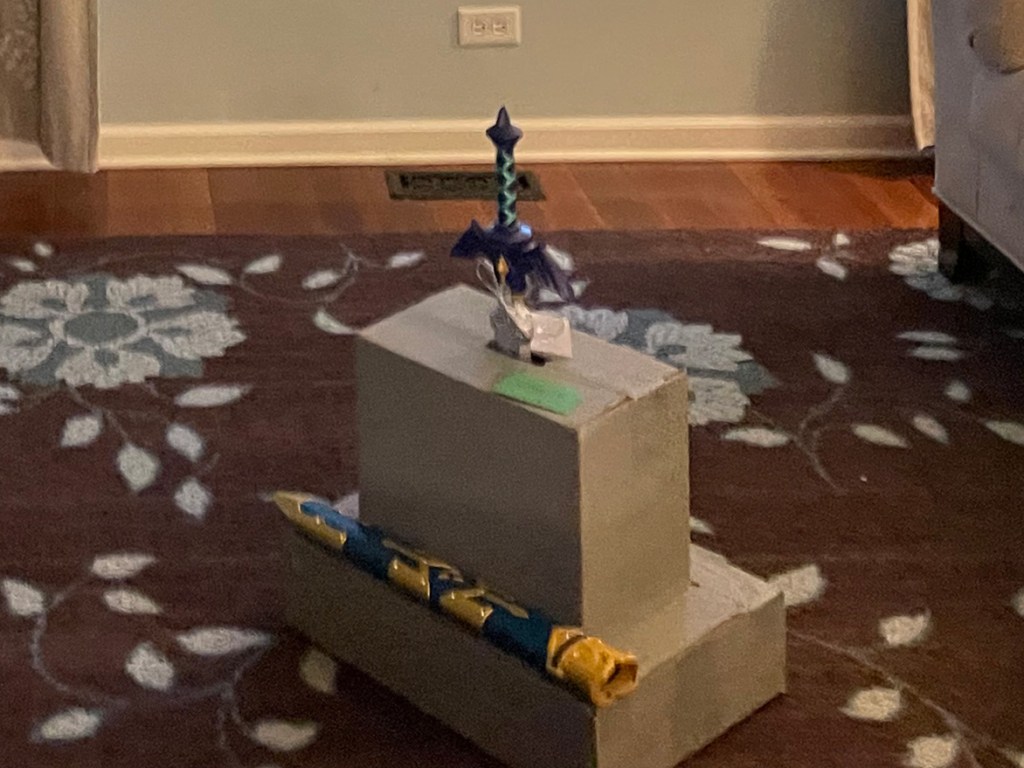
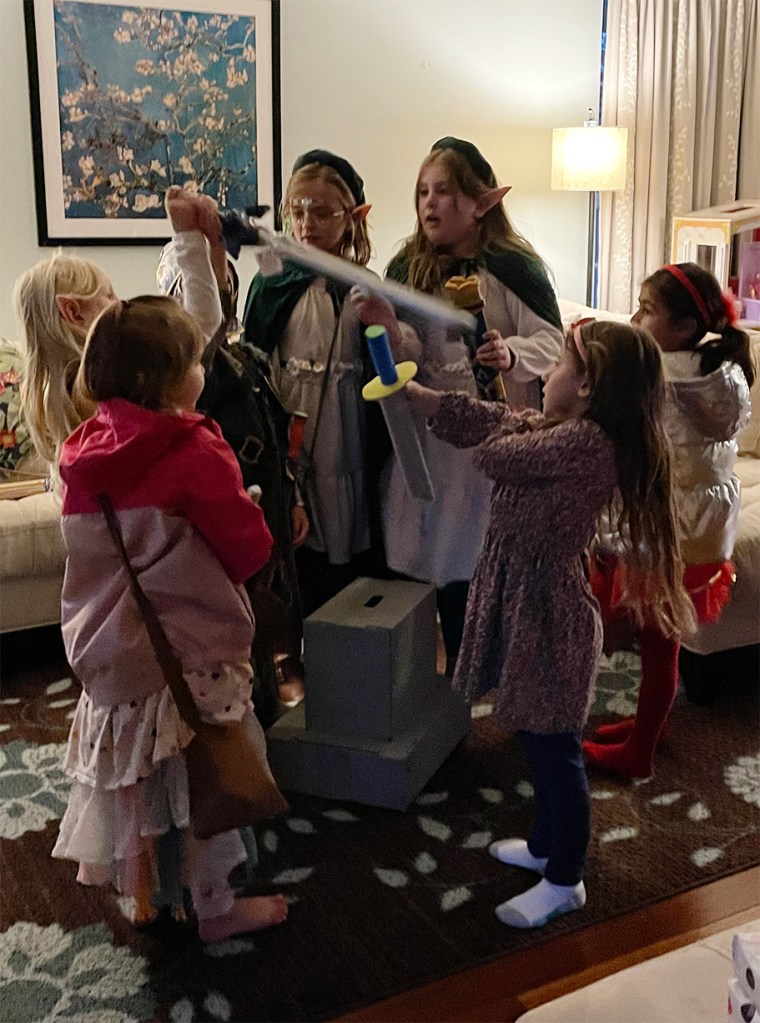
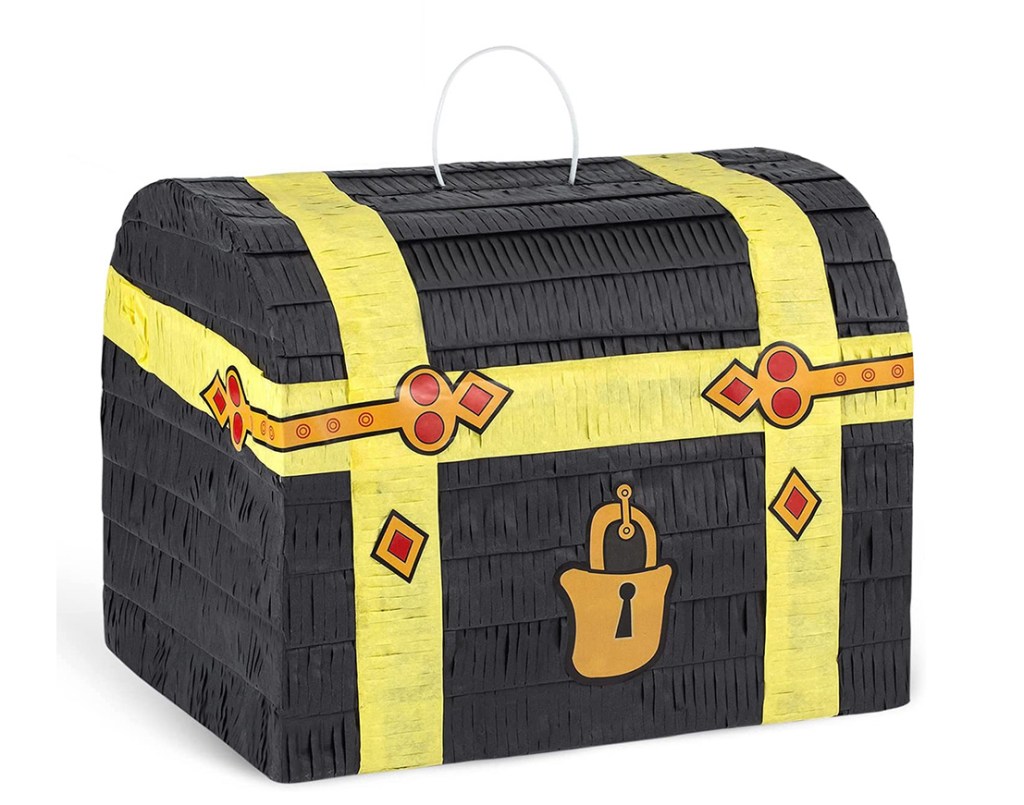
One-by-one each of our heroes turned in all the medallions they were carrying (everyone got to hold one along the way), and then together they pulled the sword from the stone. They had all shown strength, courage, and wisdom on their quest and were now the Heroes of Hyrule! The Hero’s Reward of the quest was a treasure chest piñata filled with lots of little toys and candy. And of course, they used the Master Sword to break open the piñata!
It was so much fun sharing this party with you! The kids had an amazing time, and I love that it included all of my family (and Kara too, of course!) in the planning, preparations, and execution. All that time spent together, making it great, really paid off and made this party a memorable event. Definitely one that I hope will stick in the minds and hearts of our guests for years!
I hope you loved reading about this Epic Legend of Zelda 6th Birthday Quest! Be sure to let us know if you’re planning a similar party in the comments below, and join us on Social Media for updates on our upcoming projects!
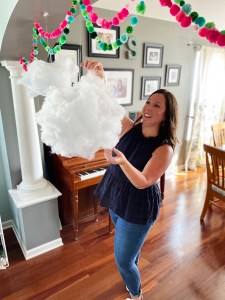
Hi! I’m Jen. When my husband and I welcomed our first daughter in 2013, I left behind full-time employment in marketing graphic design and event planning to become a stay-at-home-mom. These days, I love planning uniquely-themed parties for my girls and adding colorful, unexpected spaces to my home. I also spend a lot of time crafting and gardening and adding flowers to just about everything! I hope you’ll enjoy following along on some of our projects, and sharing some of yours with us on social media!
